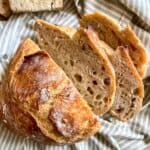
No knead, Dutch Oven Bread is made with only 4 ingredients, and is prepped in 5 minutes! This crusty, soft, homemade bread is the perfect addition to breakfast, lunch or dinner.
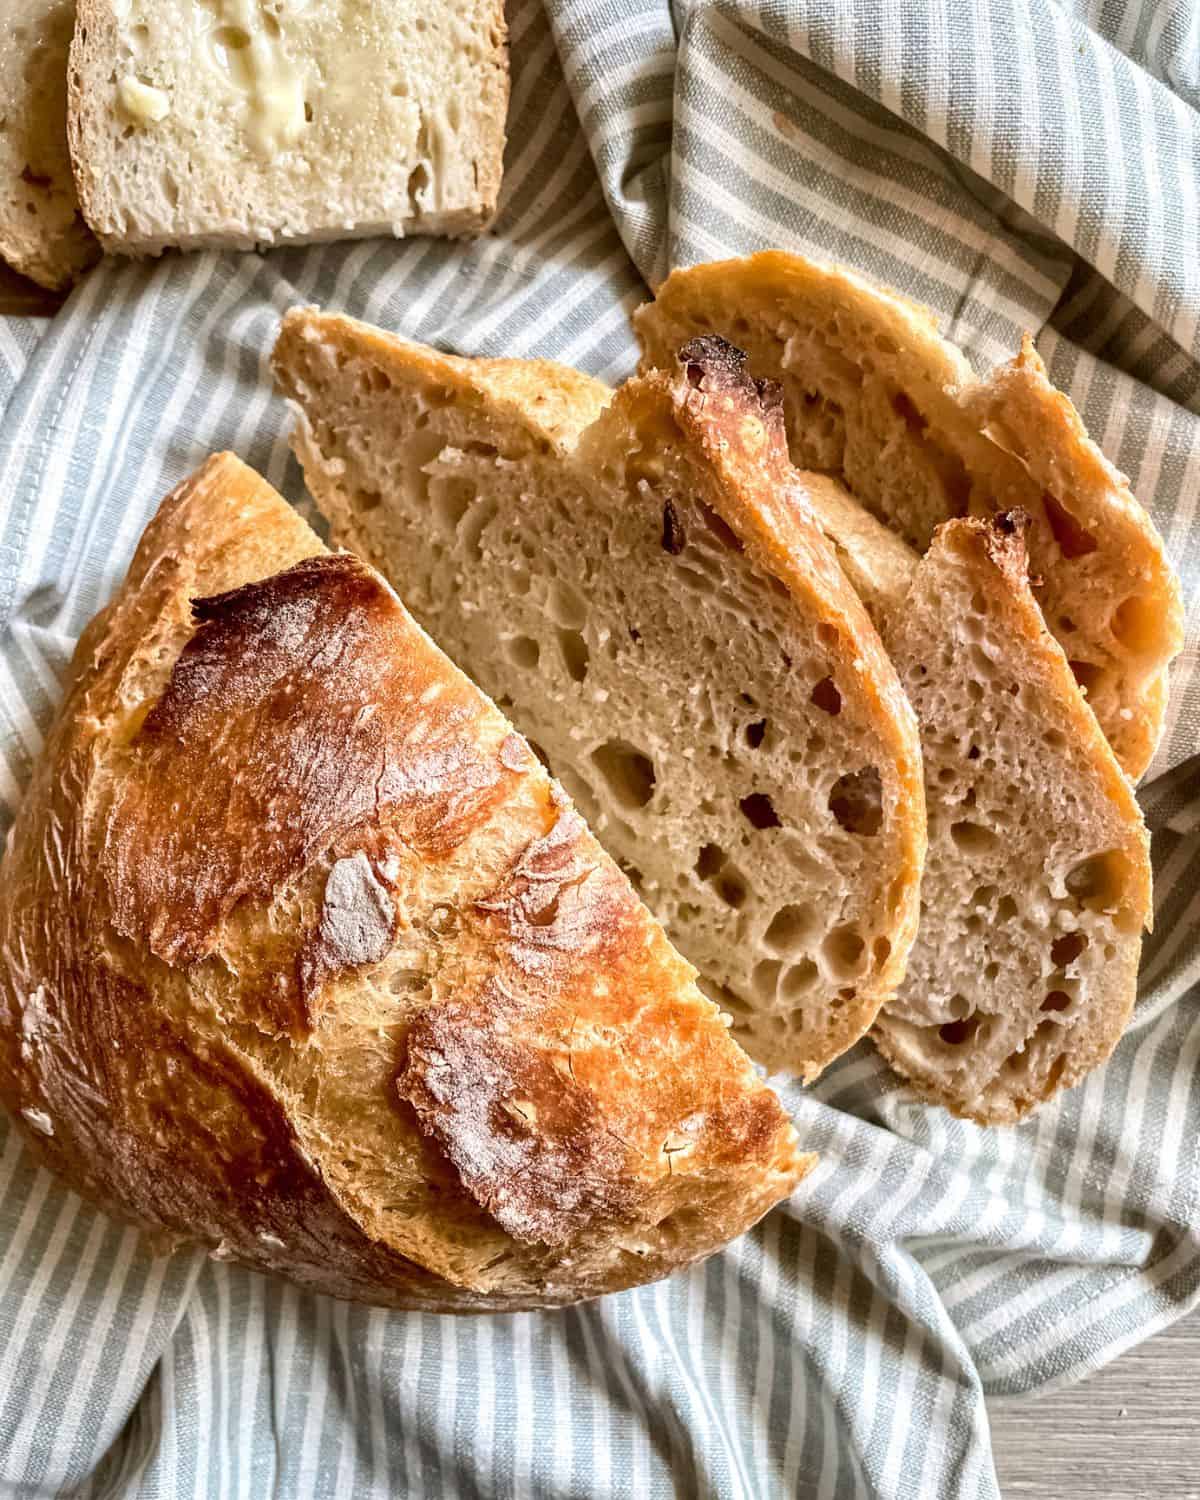
This mouth watering artisan loaf of bread is exactly what you want to slather butter on in the morning, dip your egg yolks in or put out in the bread basket at dinner time.
Not only is this bread absolutely delicious, it's the perfect bread for the beginner baker. That's right, you absolutely do not need to be a professional baker to make this recipe.
The thing that I think is most amazing about Dutch Oven Bread, is that you let it rise overnight! It doesn't require a second rise time, so that means you get to put it right into the oven in the morning!
Since you're definitely going to be making this bread ASAP, I suggest you serve it with my Scrambled Eggs with Zucchini and Feta or my Sausage Spinach Quiche!
Jump to:
Ingredients
- Flour - You can use white, all purpose flour for this recipe. Don't worry about purchasing fancy bread flour! All purpose flour works wonderfully.
- Salt - You'll need to use course, kosher salt.
- Active Dry Yeast - Make sure to bring your yeast to room temperature if you have been storing it in the fridge and make sure it's fresh!
- Water - The water should be between 110° and 115°F. This is water that is warm to the touch, but not hot.
Equipment needed
- Dutch oven - I use my enameled cast iron Lodge Dutch Oven. Your Dutch oven will come with a tight-fitting cast iron lid. Your Dutch oven can be enameled or non-enameled.
- Medium-sized mixing bowl
- Measuring cups and measuring spoons
How to make
Step 1: In a medium sized mixing bowl, combine the flour, salt and yeast.
Step 2: Mix the warm water into the dry ingredients until thoroughly combined. The mixture will be very sticky.
Step 3: Cover your bowl with plastic wrap. Place your bowl in a warm, draft-free location to let the dough rise.
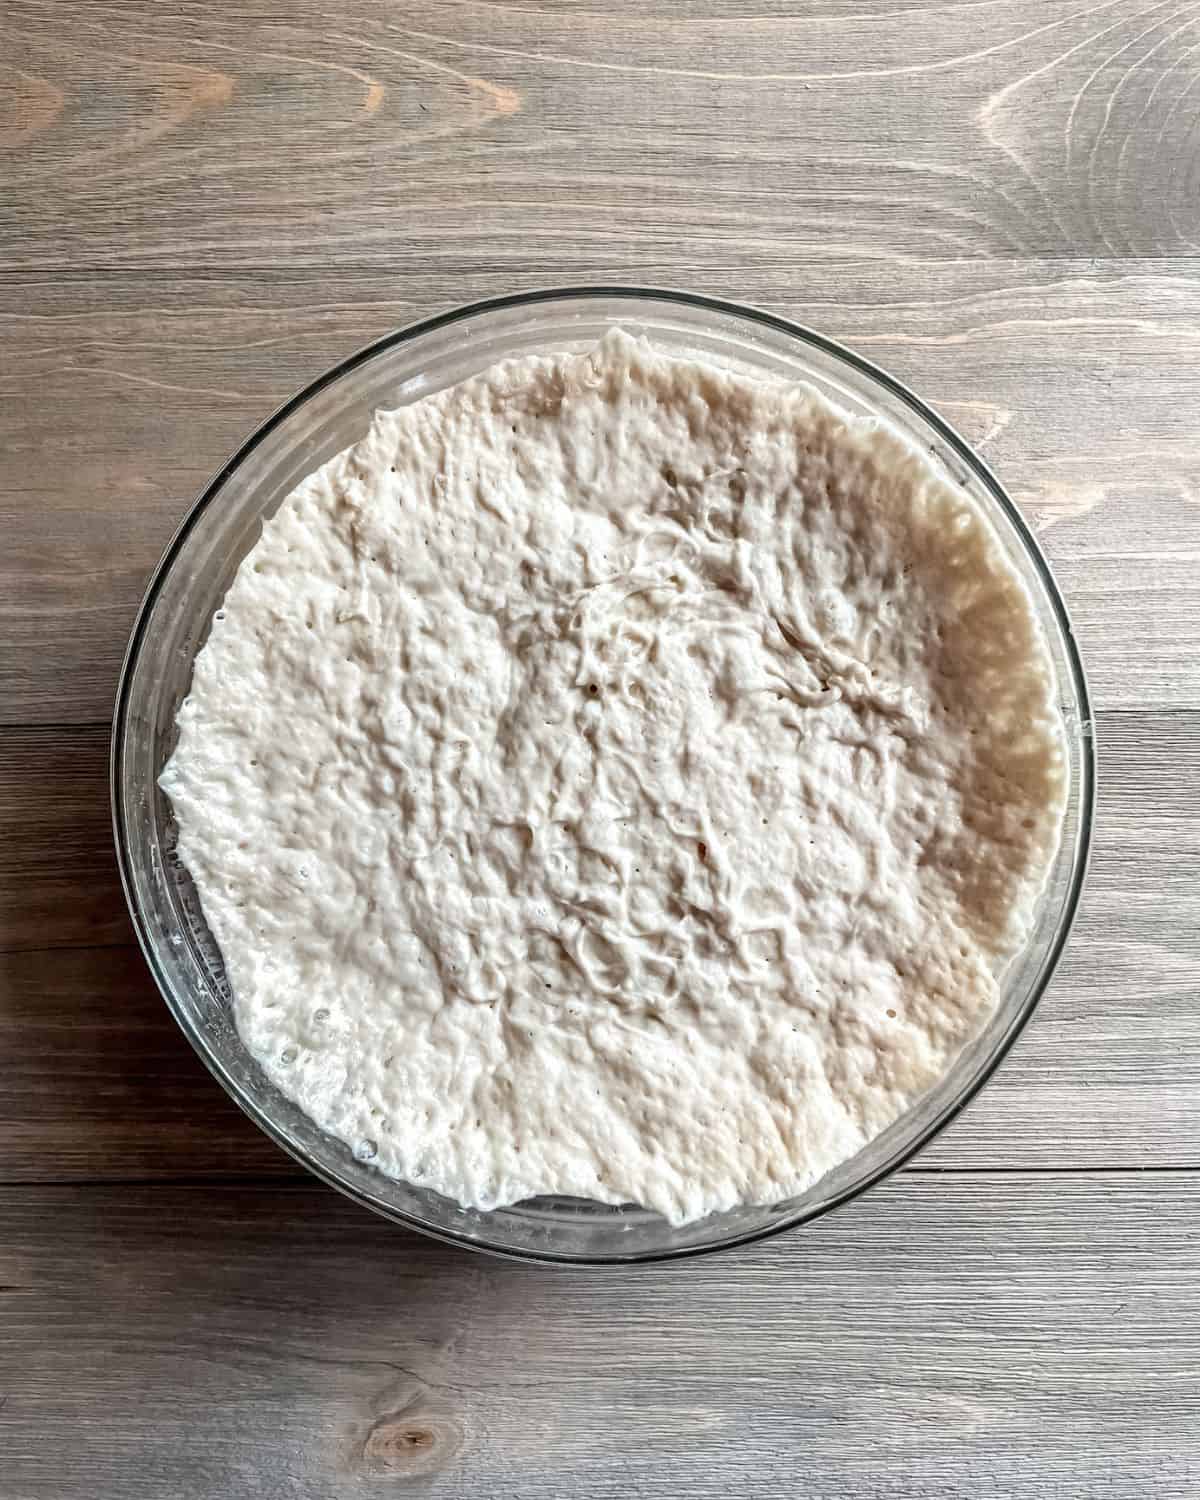
Step 4: Let the dough rise for 8-24 hours. Letting the dough rise overnight is my preferred amount of time.
Step 5: After 8-24 hours has passed, your dough should have risen almost to the top of your mixing bowl. You'll notice the dough is now one flat surface, with tiny holes in the top. That means it's ready to bake!
Preheat your oven to 450°F. Place your Dutch Oven into the oven while it's preheating.
Step 6: Peel the dough out of the bowl and transfer it to a lightly floured surface.
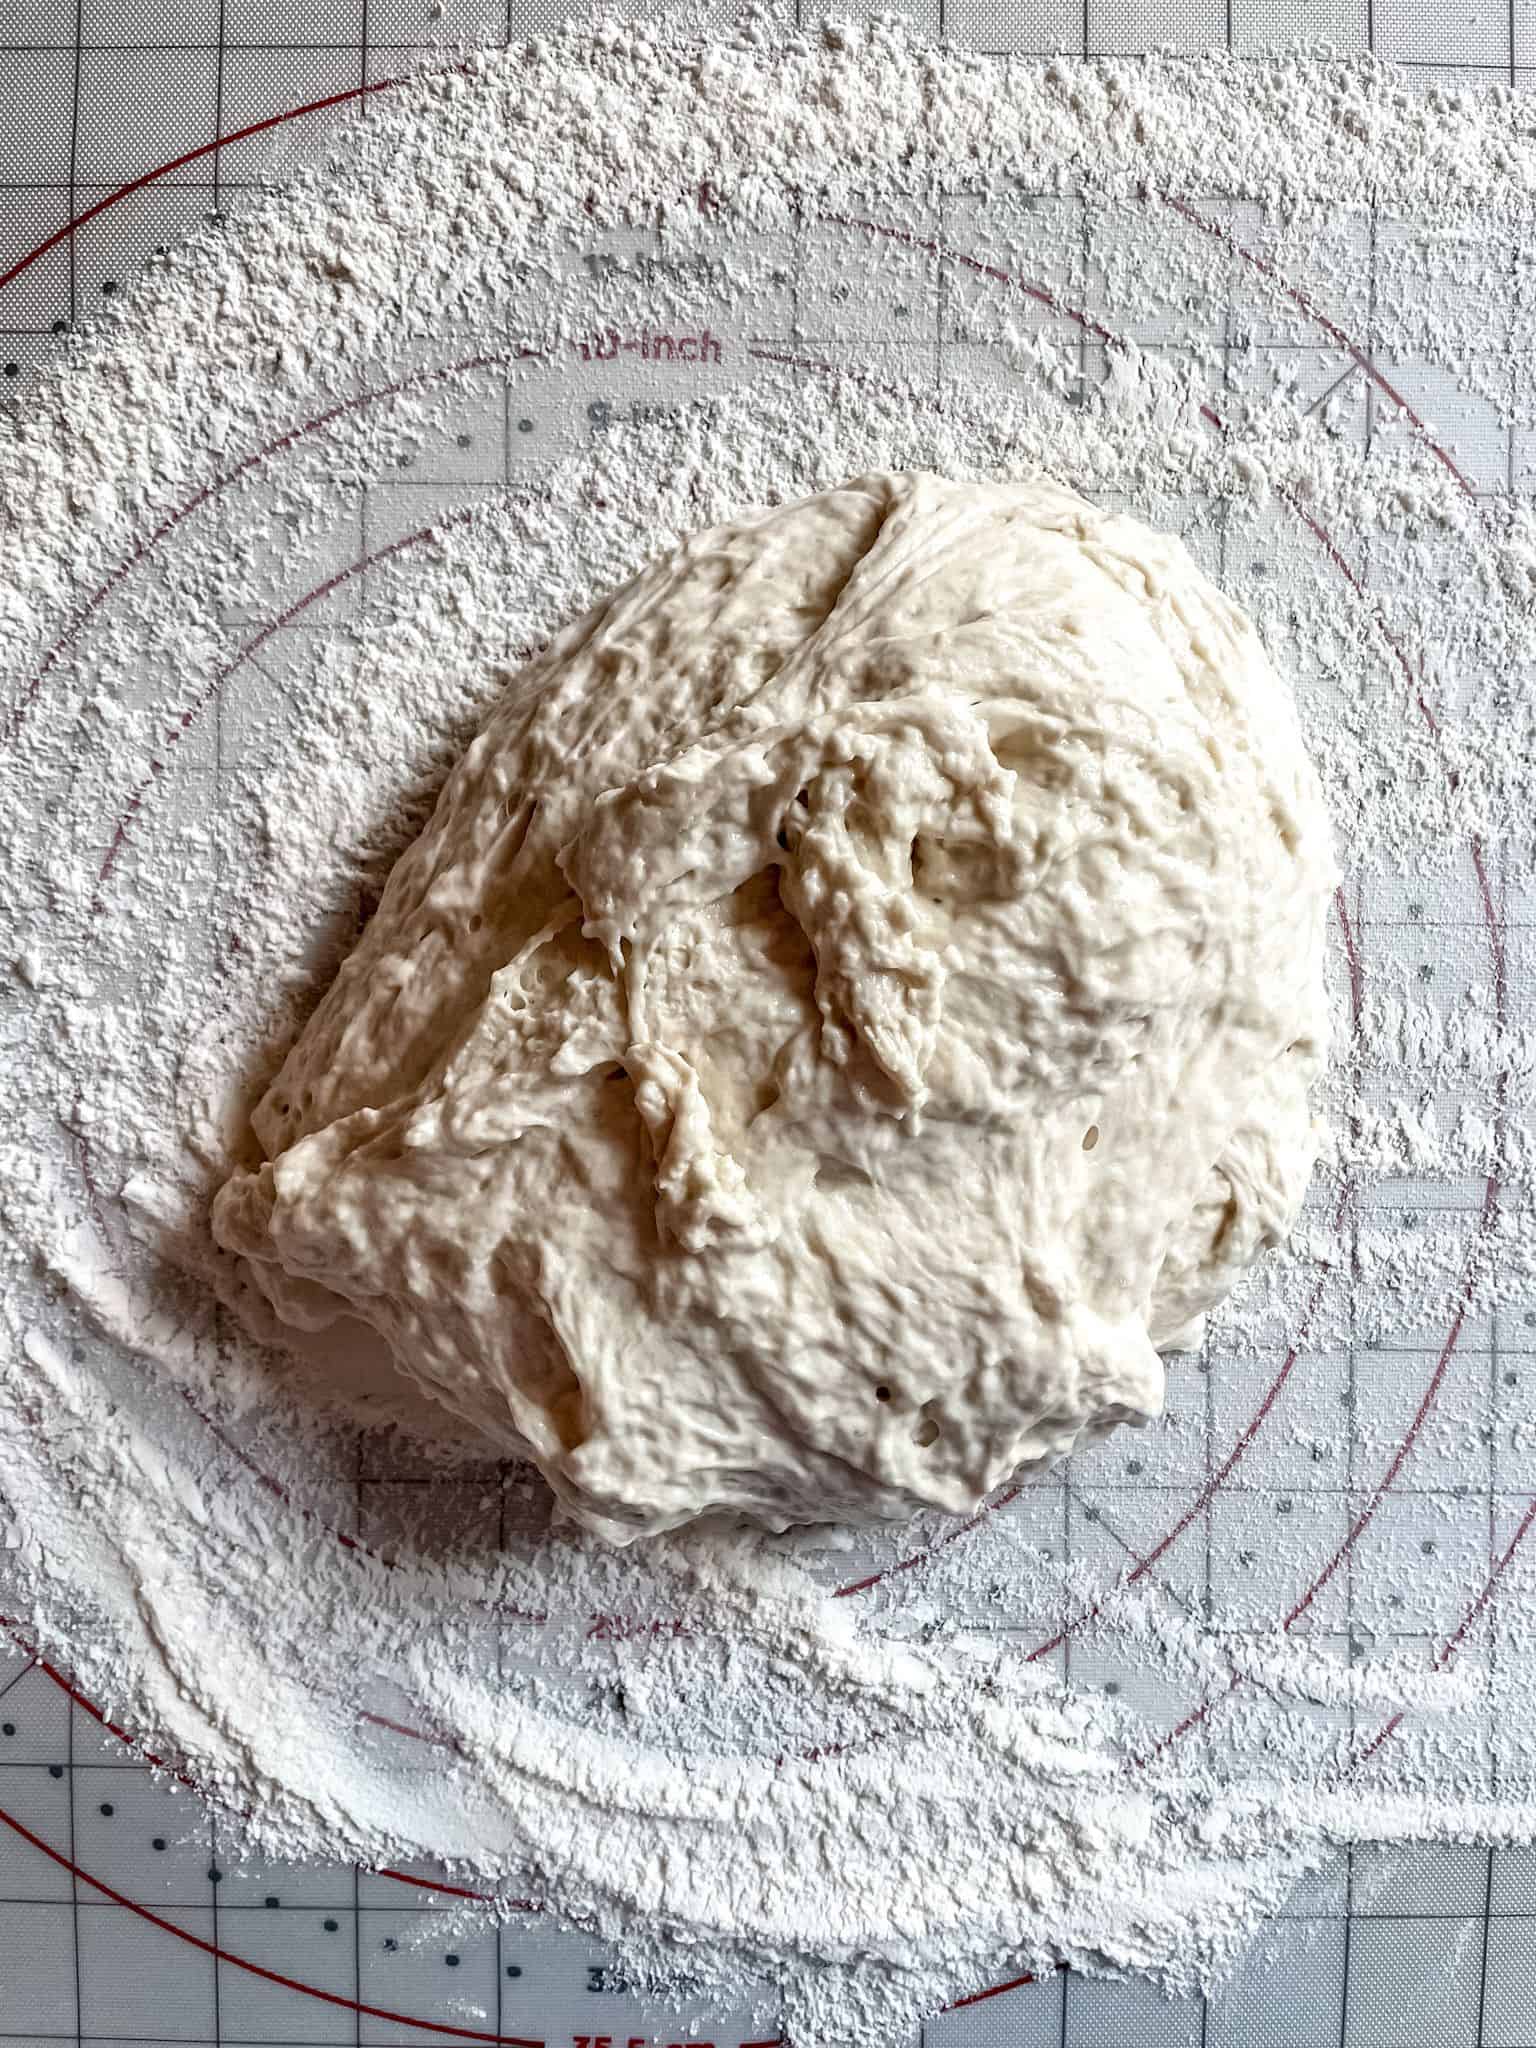
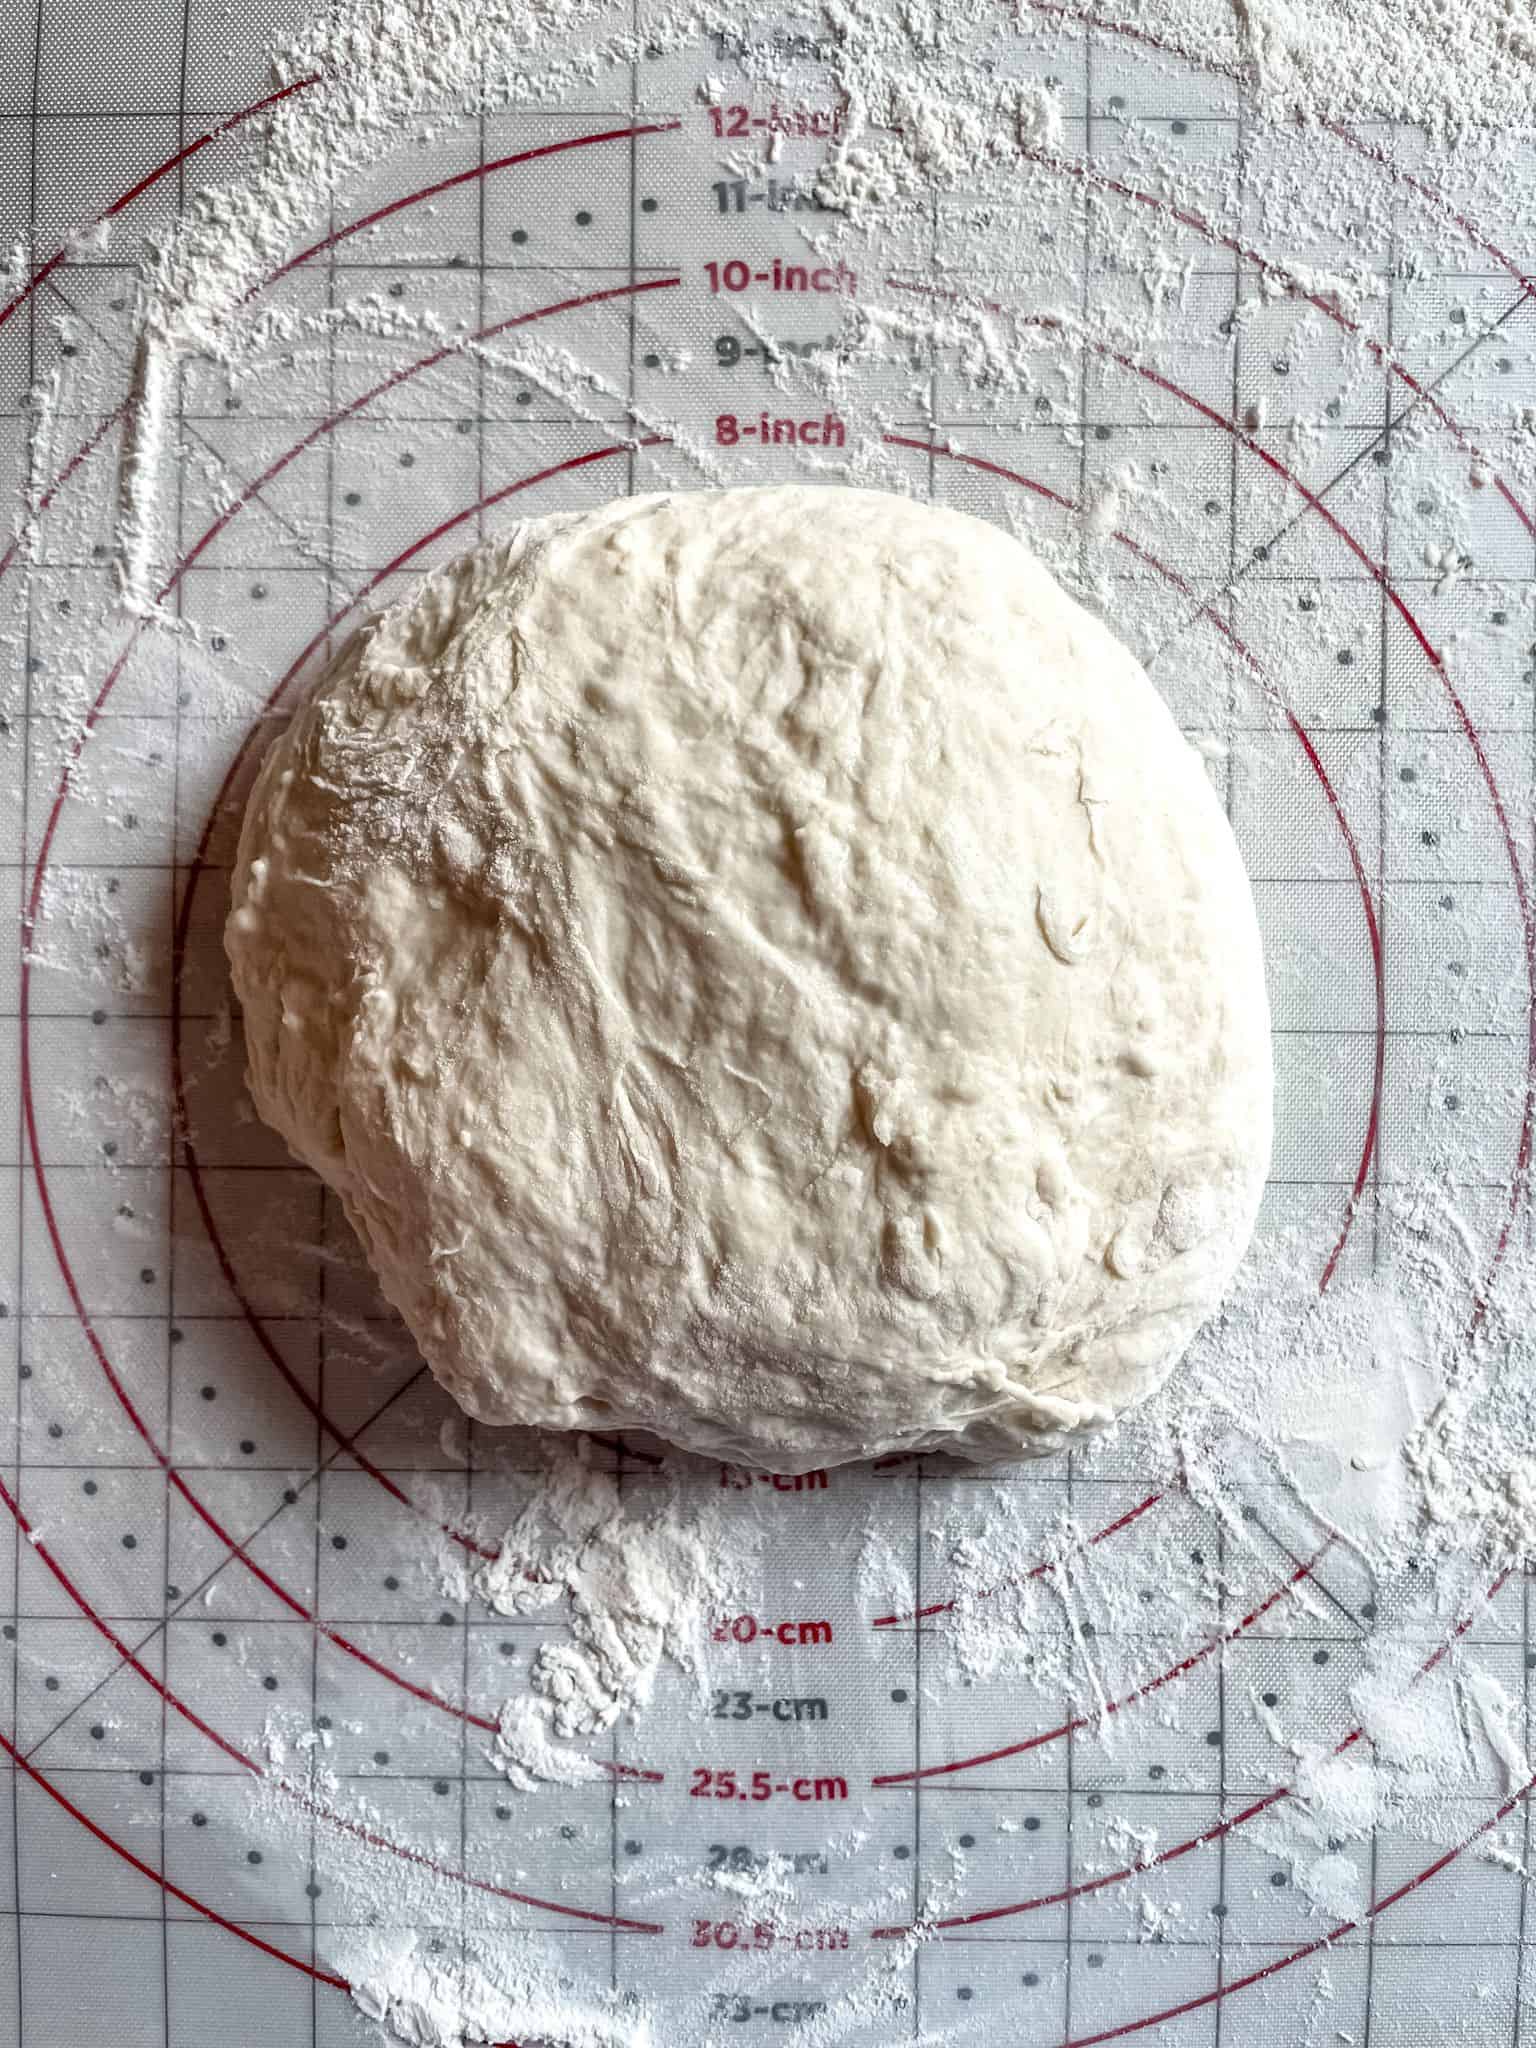
Step 7: Use your hands to work some of the flour into the ball of dough, and form the dough into a smooth, round ball. Work enough flour into the dough so that the outsides of the dough ball are no longer sticky.
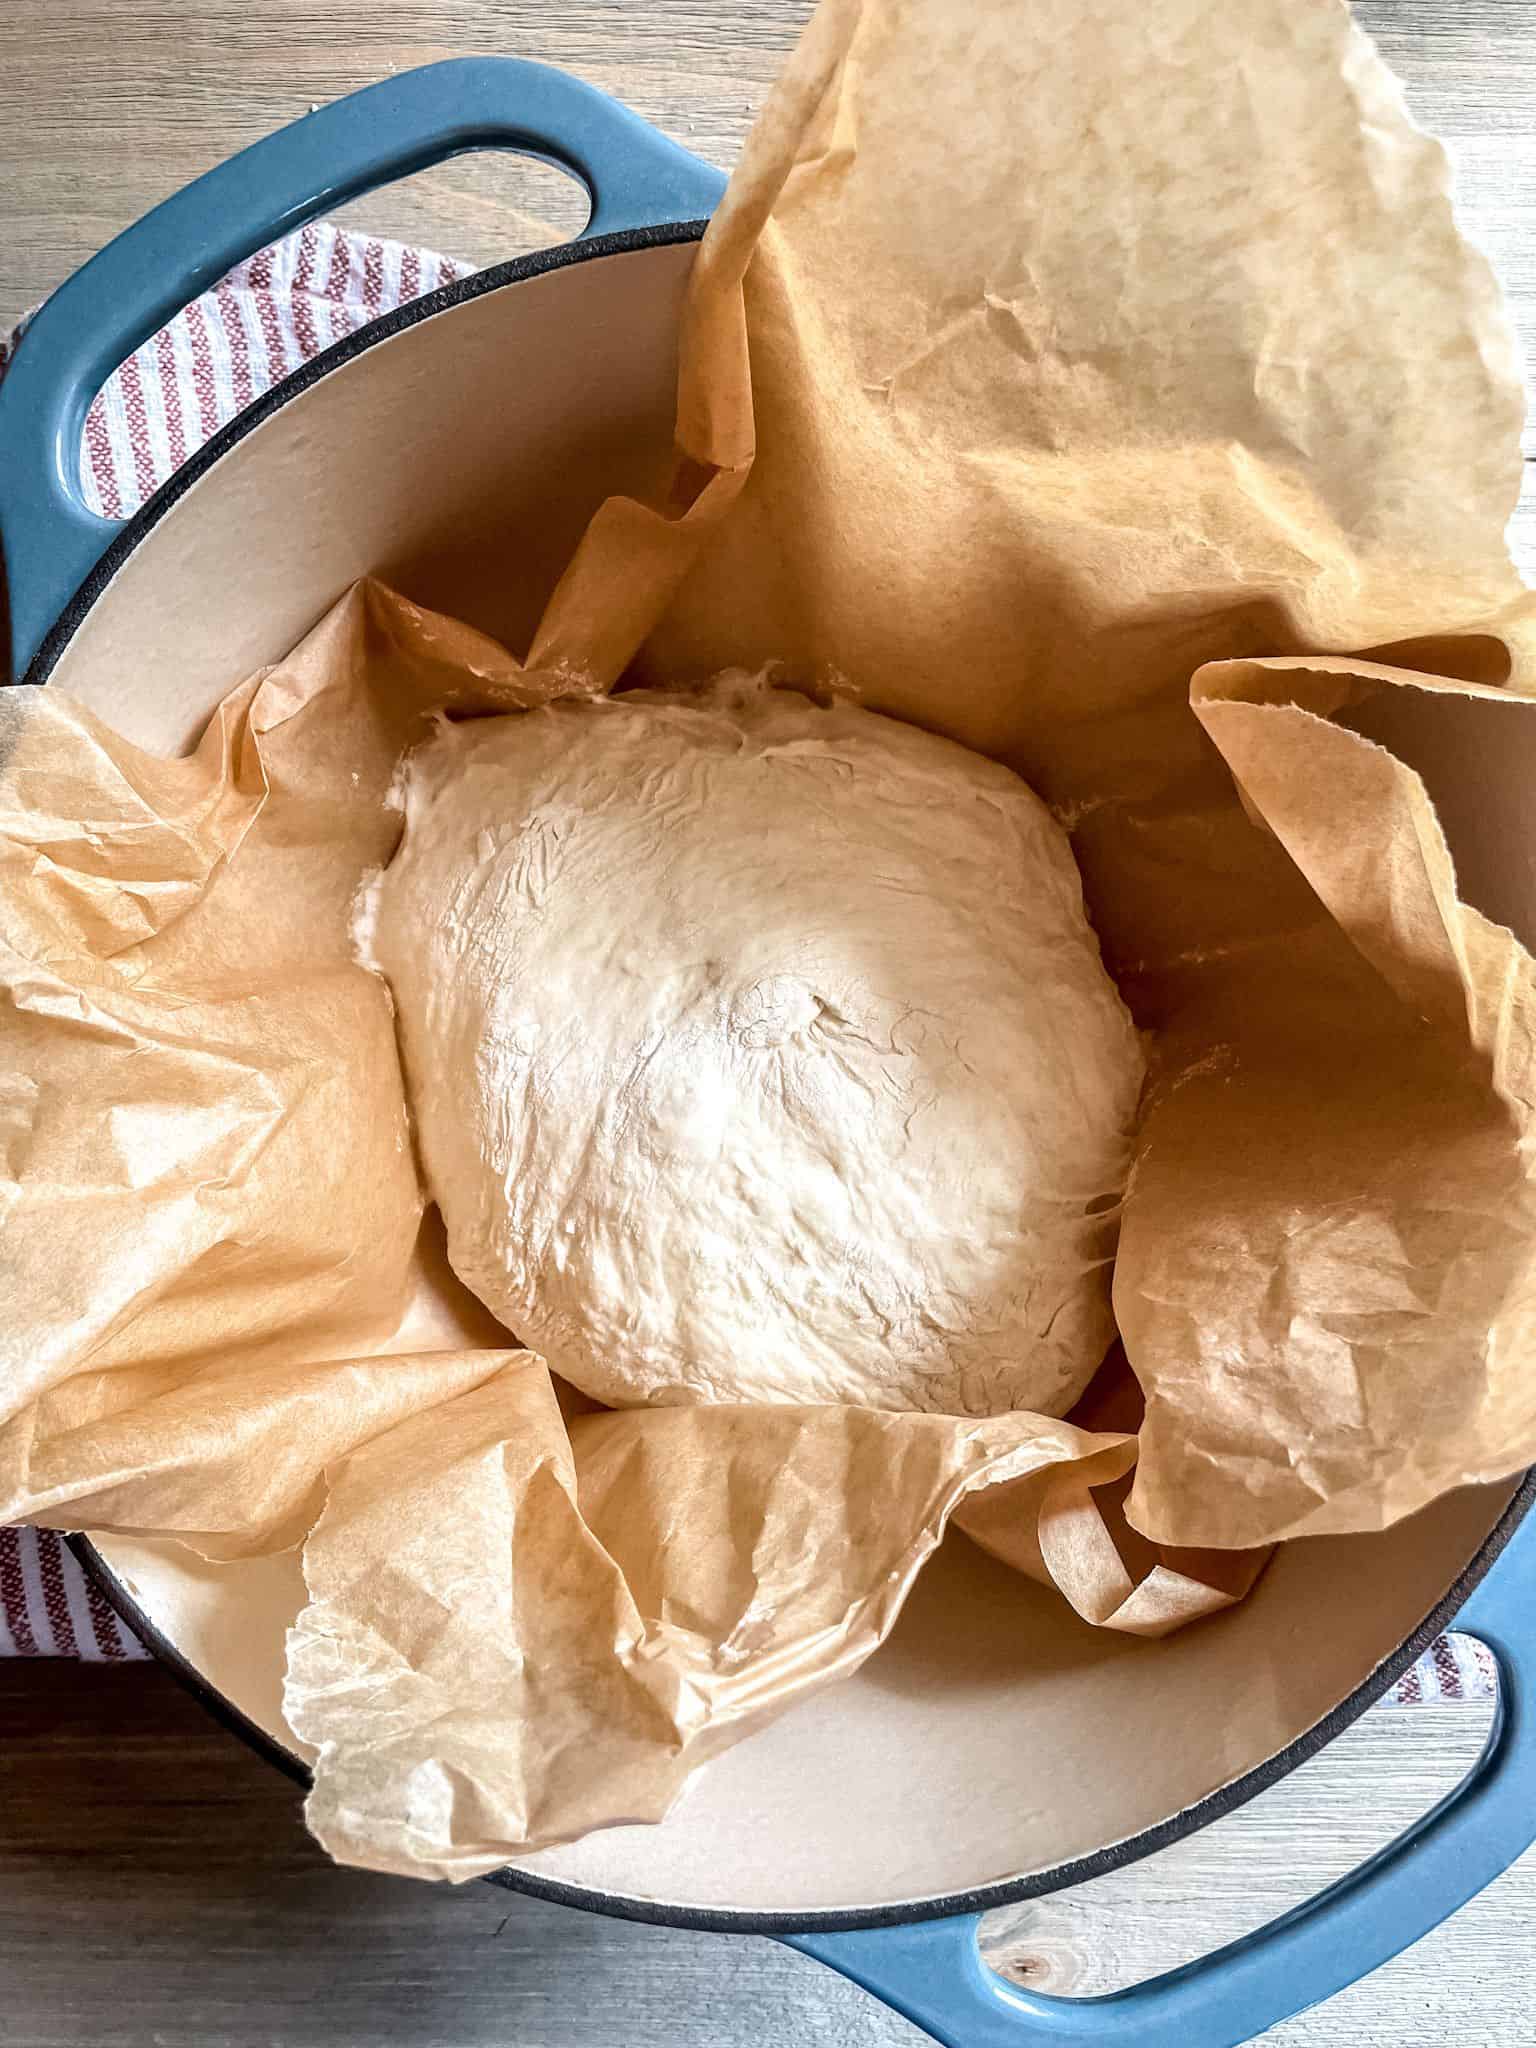
Step 8: After your oven is preheated, remove the Dutch oven from the oven and line the Dutch oven with parchment paper. Place your ball of dough into the Dutch Oven and put the lid on top.
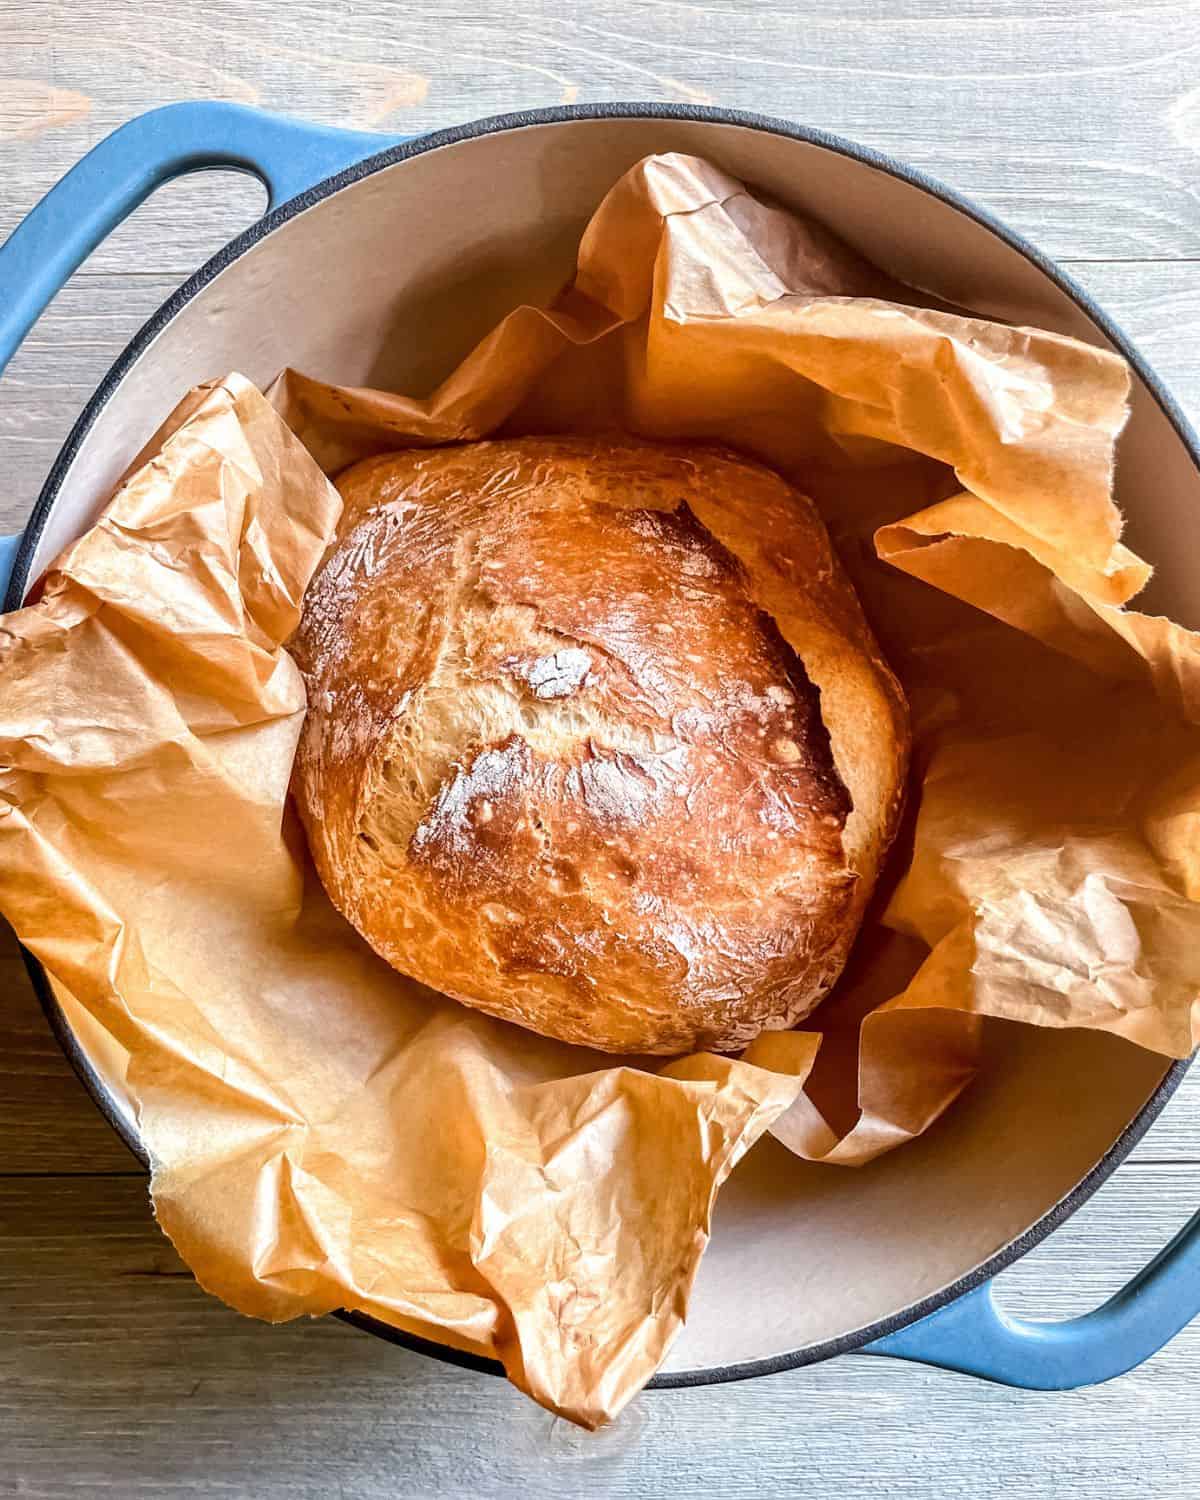
Step 9: Transfer the Dutch oven back into the oven and bake for 45 minutes. After 45 minutes, remove the lid and bake for an additional 15 minutes. After 1 hour, you'll have a delicious, crusty homemade bread!
Expert tips
- This is a sticky, loose dough. Don't be worried about this. That's the way it's supposed to be!
- This is a no-knead bread. That means that you do not need to go through the tedious process of kneading your bread with your hands.
- Since this is a no knead bread, Dutch oven bread doesn't require a second rise time. I love that this bread recipe is so hands-off!
- Measure your warm water out in a Pyrex glass measuring cup. When pouring the water into the flour mixture, start slowly. You may only need 1 ½ - 1 ¾ cups, or you may need a tablespoon more. You want your dough to be easily held together, sticky and moist.
- The best way to accurately determine the temperature of your water is by using a digital meat thermometer.
- Placing the Dutch oven into the oven while it's preheating is a necessary step. This will help the outsides of the no knead bread get nice and crispy!
- If your house is drafty, then try placing your bowl of dough in the microwave or in the oven to rise. Just make sure you don't forget it's in there!
- When handling your Dutch oven, don't forget that it will be HOT! This includes the lid.
- If you're using an enameled Dutch oven then you don't have to line your Dutch oven with parchment paper. I just like to do this because I like the way it looks! If your Dutch oven is not enameled though, then parchment paper is a must!
Main dishes to serve with
A simple, homemade bread can really be served with just about anything! That's the beauty of making homemade bread. It's delicious and versatile.
- If you're in the mood for soup, then no knead bread would be absolutely amazing served with my Cheesy Broccoli Zucchini Soup, Roasted Red Pepper and Tomato Soup and Dutch Oven Chicken Noodle Soup.
- If fish is what's for dinner, then you need to make my Easy Blackened Cod or my Baked Panko Cod.
- If you're in need of a fantastic chicken recipe to serve Dutch Oven Baked Bread with then my Whole Roasted Chicken Recipe, Air Fryer Chicken Thighs, or my Grilled Chicken Kabobs are all must make recipes!
How to store
Store leftover bread in an air-tight, zip top plastic bag on the counter. The bread should stay fresh for a few days this way! Just make sure to squeeze as much of the air out as you can before sealing up the bag.
PrintDutch Oven Bread
No knead, Dutch Oven Bread is made with only 4 ingredients, and is prepped in 5 minutes! This crusty, soft bread is the perfect addition to breakfast, lunch or dinner.
- Prep Time: 5 minutes
- Rise Time: 8 - 24 hours
- Cook Time: 60 minutes
- Total Time: 0 hours
- Category: breakfast, lunch, brunch
- Method: baking
- Cuisine: American
Ingredients
- 3 cups white all purpose flour
- 1 ½ teaspoons salt
- 1 ½ teaspoons active dry yeast - room temperature
- 1 ¾ cups warm/room temperature water (110°F - 115°F)
Instructions
- In a large mixing bowl, mix together the flour, salt and yeast.
- Pour the warm water into the dry ingredients. Mix until thoroughly combined. The mixture will be very sticky.
- Cover your bowl with plastic wrap. Place your bowl in a warm, draft-free location to let it rise.
- Let the dough rise for 8-24 hours. Letting the dough rise overnight is my preferred amount of time.
- After the dough has risen, it's time to bake the bread. Preheat your oven to 450 degrees Fahrenheit. Place your Dutch oven with a lid in your oven while its preheating.
- While the oven is preheating, lightly flour your work surface. Peel the risen bread from the sides of the mixing bowl and dump it onto your lightly floured work surface. If the dough is extra sticky you can (very lightly) sprinkle extra flour on the top of the dough.
- Using your hands, work the dough into a ball and work some of the flour from your work surface into the dough ball so that it is no longer sticky.
- After your oven is preheated, remove the Dutch oven from the oven and line the Dutch oven with parchment paper. Place your ball of dough into the Dutch Oven and put the lid on top. Put the Dutch oven back into the oven and bake for 45 minutes. After 45 minutes, remove the lid and bake for an additional 15 minutes.
- Remove the bread from the oven, carefully lift it out of the Dutch oven and let it cool on your kitchen counter before slicing. Serve and enjoy!
Notes
This is a very crusty bread. That is how it is supposed to be! The bread will keep well wrapped in plastic wrap or in a zip lock bag for up to 4 days.
Follow me
Follow me on Facebook, on Instagram and on Pinterest!
Did you make this recipe? Tell me all about it in the comments below! I love hearing from my followers and answering any of your questions!


Katie says
Susie says
Made this for the second time this morning! So easy and delicious.