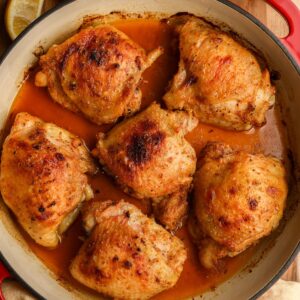
Air Fryer Boneless Chicken Thighs are crispy on the outside, juicy on the inside, and perfect for busy weeknights! These boneless, skinless chicken thighs take less than 30 minutes to make from start to finish. All they need is a simple dry rub and a drizzle of olive oil.

The air fryer is my go-to, time-saving kitchen appliance for everything from these boneless air fryer chicken thighs to air fryer chicken cutlets, air fryer frozen salmon, and air fryer Alexia sweet potato fries!
Air frying dry-rubbed, skinless chicken thighs turns them into moist and delicious pieces of meat! I actually think air-fried chicken thighs resemble grilled chicken thighs. They stay juicy on the inside and get nice and crisp on the outside.
I've tested air fryer chicken thighs with a variety of dry rubs and also wet marinades. I can confidently say that I strongly prefer the dry rub! A drizzle of olive oil is all you need to make delicious, crispy chicken thighs.
Jump to:
Why you'll love this recipe
- Easy - After you season and oil your chicken thighs, the air fryer does the rest of the work.
- Simple - All you need to make this recipe is a few spices and a package of boneless chicken thighs, much like these cast iron skillet blackened chicken thighs!
- Quick - Take your chicken thighs from the fridge to the dinner table in under 30 minutes.
Ingredients
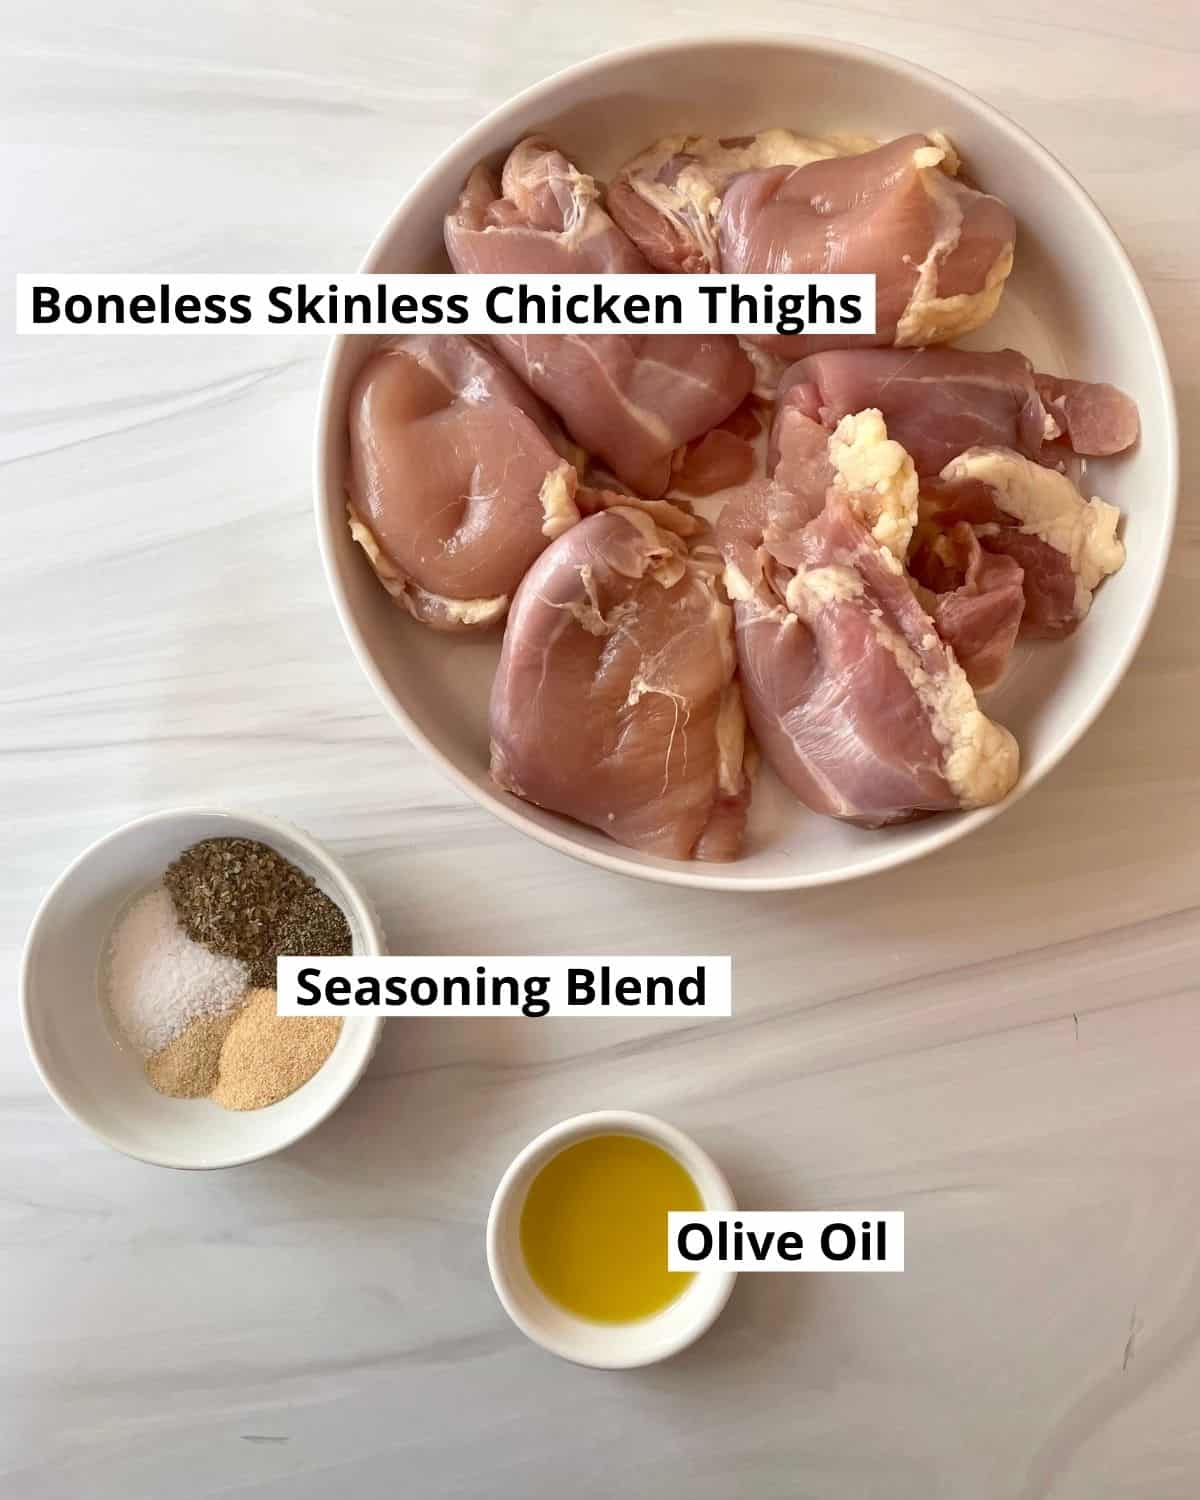
- Boneless skinless chicken thighs - Boneless, skinless chicken thighs are removed from the bone, and the skin is removed. They tend to be darker meat with a higher fat content than chicken breast. They're usually rolled up in the package, so when you open the package, you need to unroll them so that they are flat. This will ensure that you fully season the chicken thighs and also cook them evenly.
- Garlic powder - I always cook with garlic powder granules. Many brands of garlic granules are still labeled as garlic powder.
- Onion powder - Onion powder is a savory seasoning with a concentrated onion flavor.
- Italian seasoning - Italian seasoning blend usually consists of basil, oregano, rosemary, thyme and marjoram.
- Kosher salt - Kosher salt crystals are much larger and coarser than table salt. If you do not have kosher salt and want to use fine table salt, then you'll need to use half the salt the recipe calls for.
- Black pepper - Any type of ground black pepper will work for this recipe!
- Extra virgin olive oil - This recipe calls for a drizzle of olive oil before placing the boneless chicken thighs into the air fryer. If you don't have olive oil, then a substitute like avocado oil would also work.
*See the recipe card below for exact quantities.
Equipment needed
- Air fryer - Here is the air fryer that I currently use. So far, I love it! It's 6 quarts and fits my needs well! This style has an air fryer basket.
- Measuring spoons
- Silicone tongs - A silicone tong is best for air fryers because you don't want to scratch the nonstick coating inside your air fryer.
- Meat thermometer - I use a digital instant-read thermometer that measures the internal temperature of cooked meat.
- Large mixing bowl
How to make air fryer boneless chicken thighs
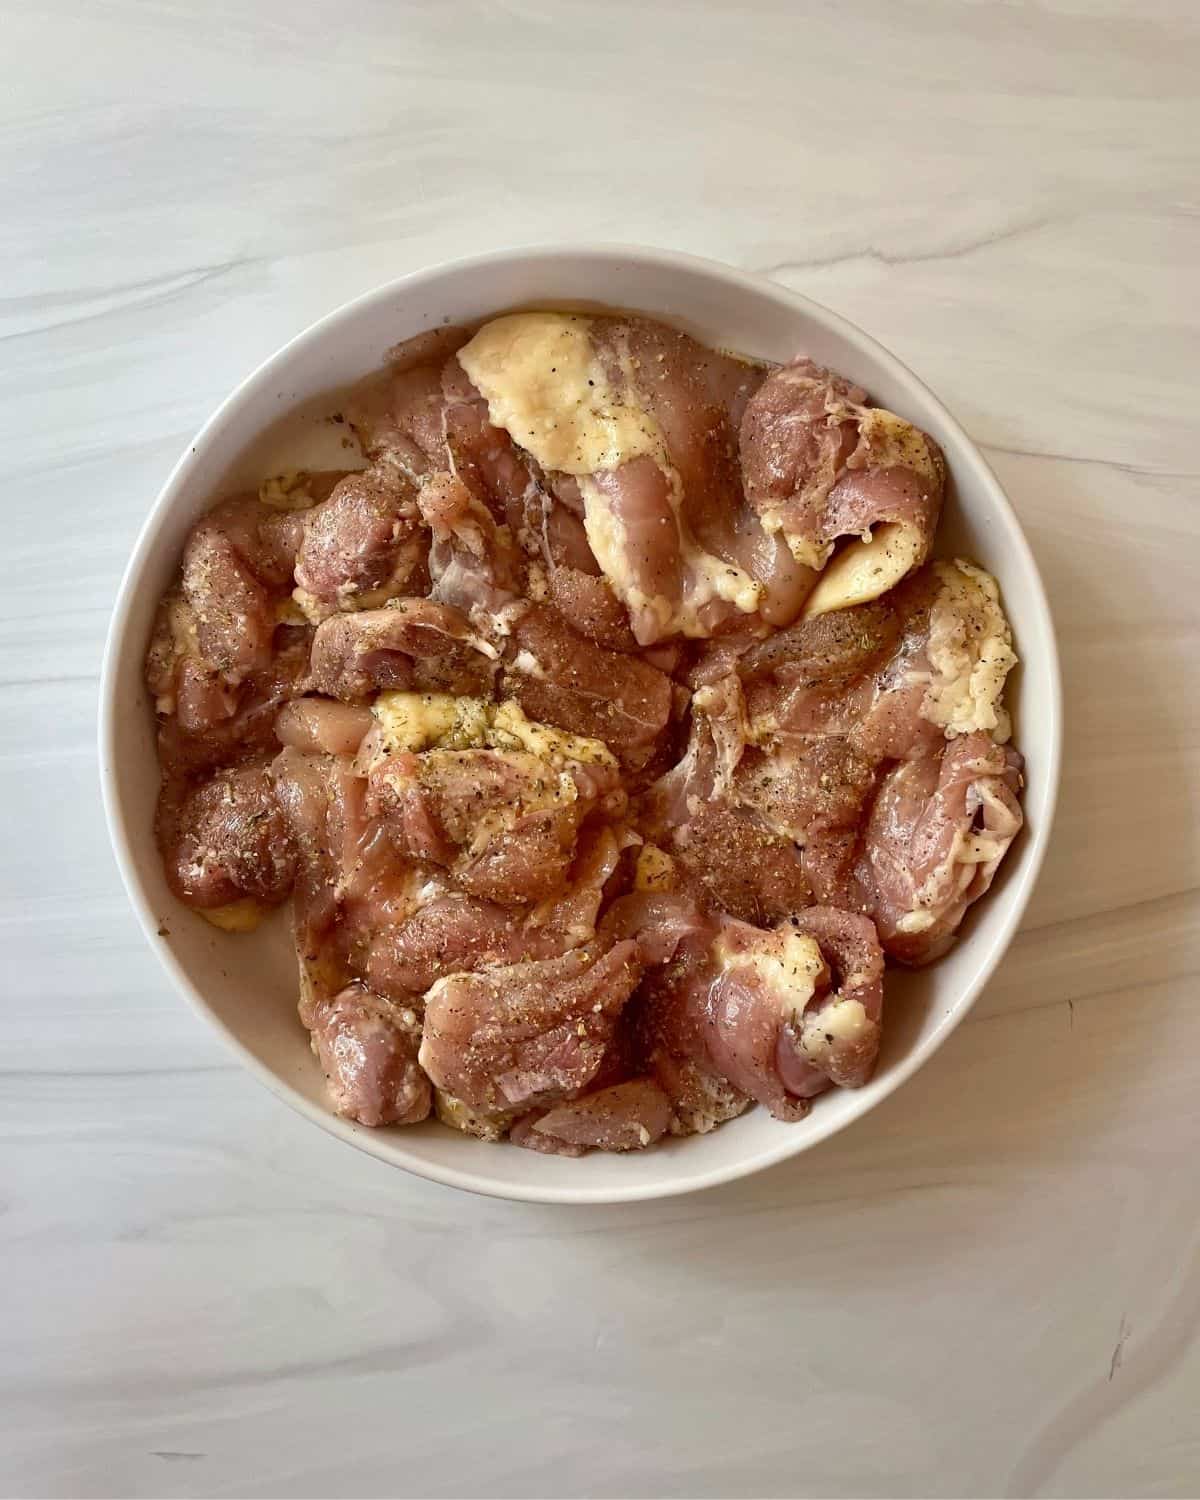
Step 1 - Combine the garlic powder, onion powder, Italian seasoning, salt, and pepper in a small bowl. Sprinkle it over both sides of the raw chicken thighs. Make sure you open up your chicken thighs and use your hands to really rub the seasoning in.
Step 2 - Drizzle the olive oil over the top of the chicken thighs. Turn the chicken thighs over a couple of times so that both sides get some olive oil on them.
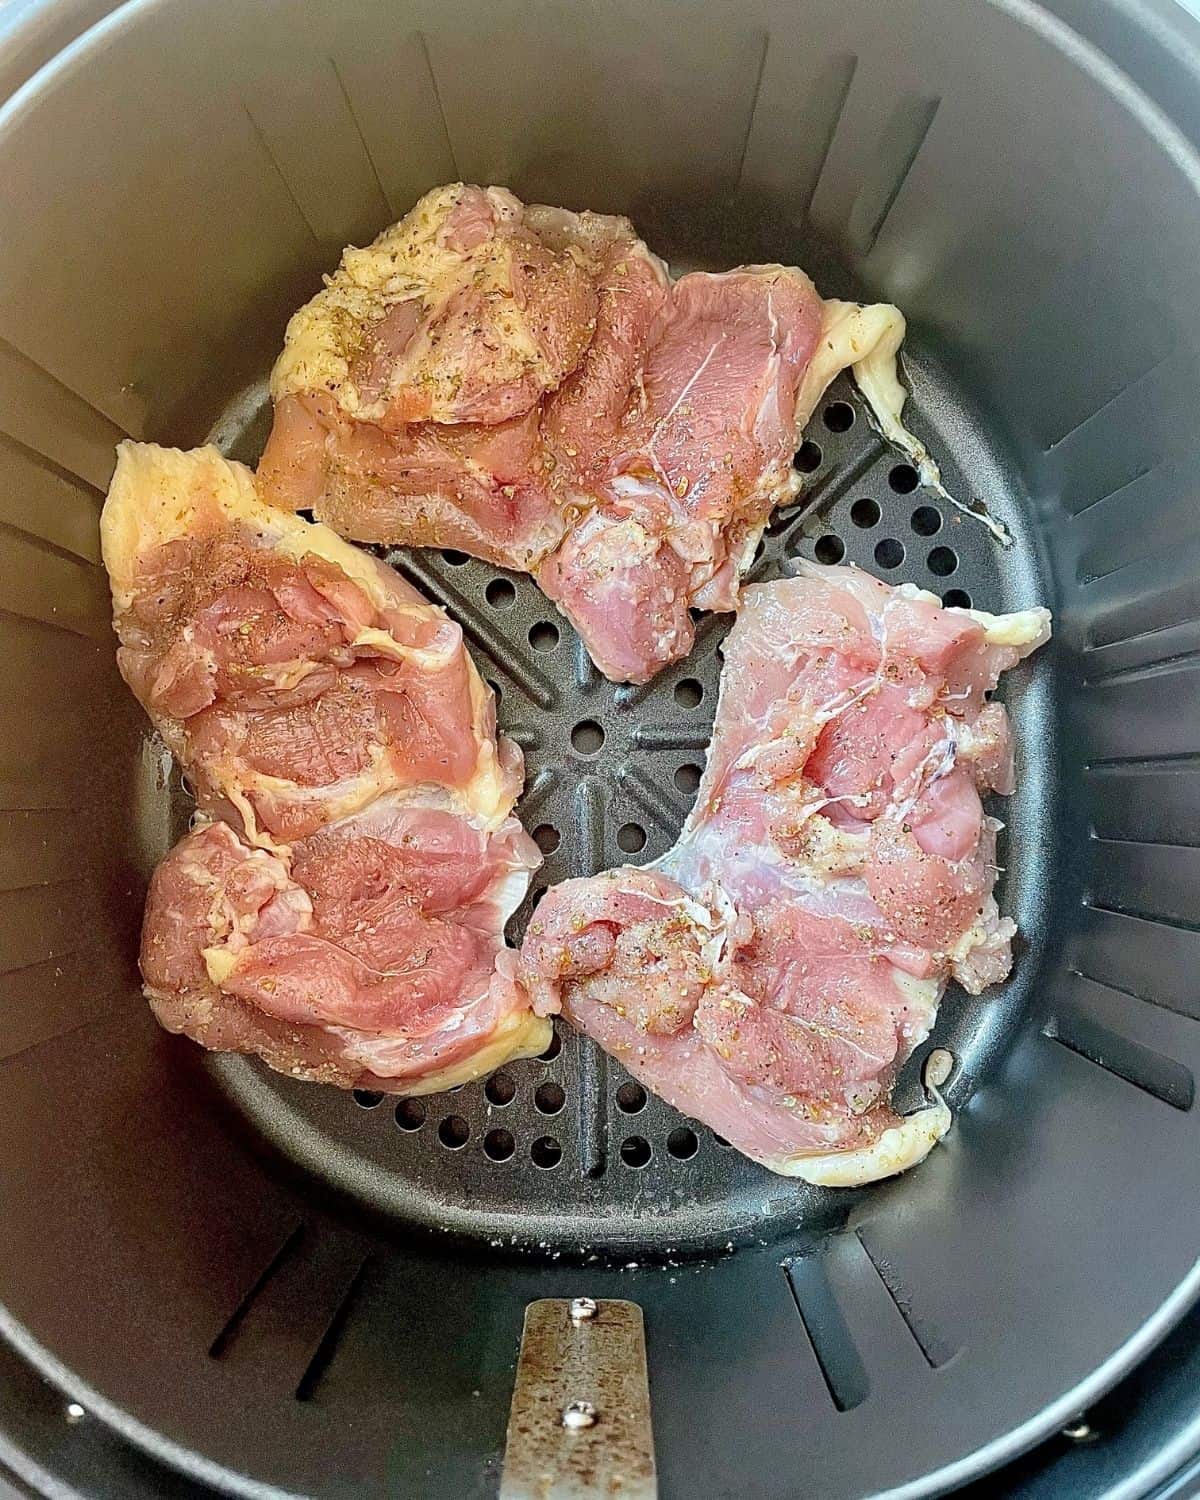
Step 3 - Place the chicken thighs in a single layer in the air fryer basket, avoiding overlap for even air circulation. Cook in 2 batches if needed.
Step 4 - Cook the chicken thighs for 10 minutes at 380° degrees F. Flip them over and continue cooking for 5-10 more minutes.
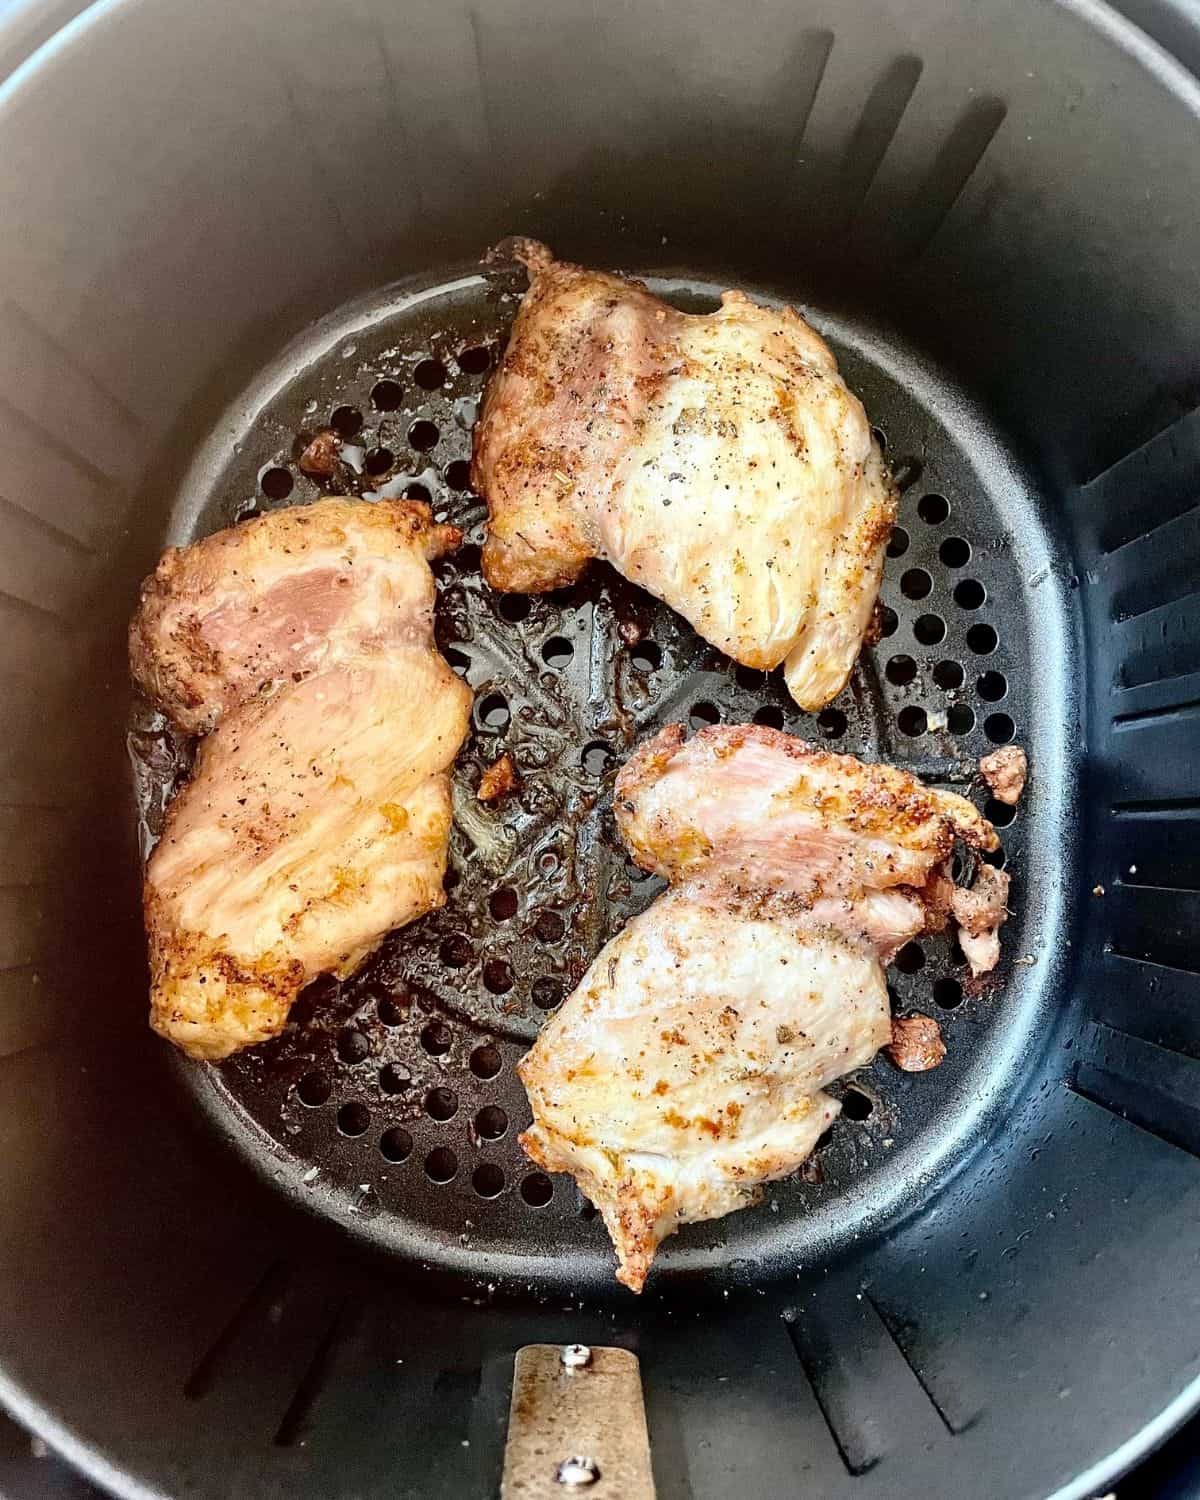
Step 5 - Cook the chicken thighs until they reach an internal temperature of at least 165°F. Remove them from the air fryer and let the thighs rest for 5 minutes before slicing. Enjoy!
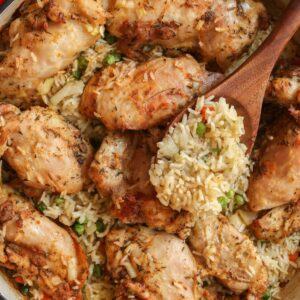
Serving suggestions
One of the many reasons I love air fryer boneless chicken thighs is they can be served with almost anything! Here are a few of my favorite options:
Recipe variations
If you want to add some variety to this recipe, then you can play around with the spice blend, use your favorite store-bought spice blend, drizzle the chicken thighs with infused olive oil, or add a sauce.
- Spicy - Add some red pepper flakes, cayenne pepper, chili powder, sriracha sauce, lemon pepper, or diced jalapeno peppers if you like a little heat.
- Salty - Top your cooked chicken thighs with some soy sauce or Worcestershire sauce.
- Saucy - Chicken thighs can be served with just about any sauce! You could add a cheese sauce, alfredo sauce, marinara sauce, chicken gravy, buffalo sauce, or BBQ sauce.
- Sweet - Add some brown sugar or honey.
Storage & reheating
- Air fryer boneless, skinless chicken thighs will store well in the refrigerator for 3-4 days. Keep them in a sealed, air-tight container.
- Reheat chicken thighs in the microwave or on the stovetop. Place the chicken thighs on a microwave-safe plate and reheat for 1-2 minutes.
- Place the chicken thighs in a small frying pan coated with cooking spray to reheat on the stovetop. Heat over low heat until warmed through.
Expert tips
- Always check the "best buy" date before purchasing fresh meat! I find fresh chicken thighs start tasting off by their best buy date or even sometimes the day before. For best results and flavor, purchase fresh chicken thighs and eat them well before expiration.
- Chicken thighs have quite a bit more fat than chicken breasts. You can trim off SOME of the fat, but don't trim it all off! I usually trim any fat hanging off the meat because it gets hard and burnt while it cooks.
- Pat the chicken dry with paper towels before applying the dry rub.
- Do not overcrowd your air fryer when cooking chicken thighs. Place the chicken thighs in a single layer.
FAQs
This air fryer chicken thigh recipe using boneless chicken thighs will take about 25 minutes from start to finish. This includes the time it takes to mix a quick seasoning blend and spread it over the chicken thighs.
I prefer to bake boneless, skinless chicken thighs at 400°F. You'll notice it's my go-to baking temperature in this balsamic chicken thigh recipe and sheet pan chicken thighs, peppers, and onions recipe.
Yes, you can substitute bone-in chicken thighs for boneless chicken thighs. However, bone-in chicken thighs will take longer to cook through.
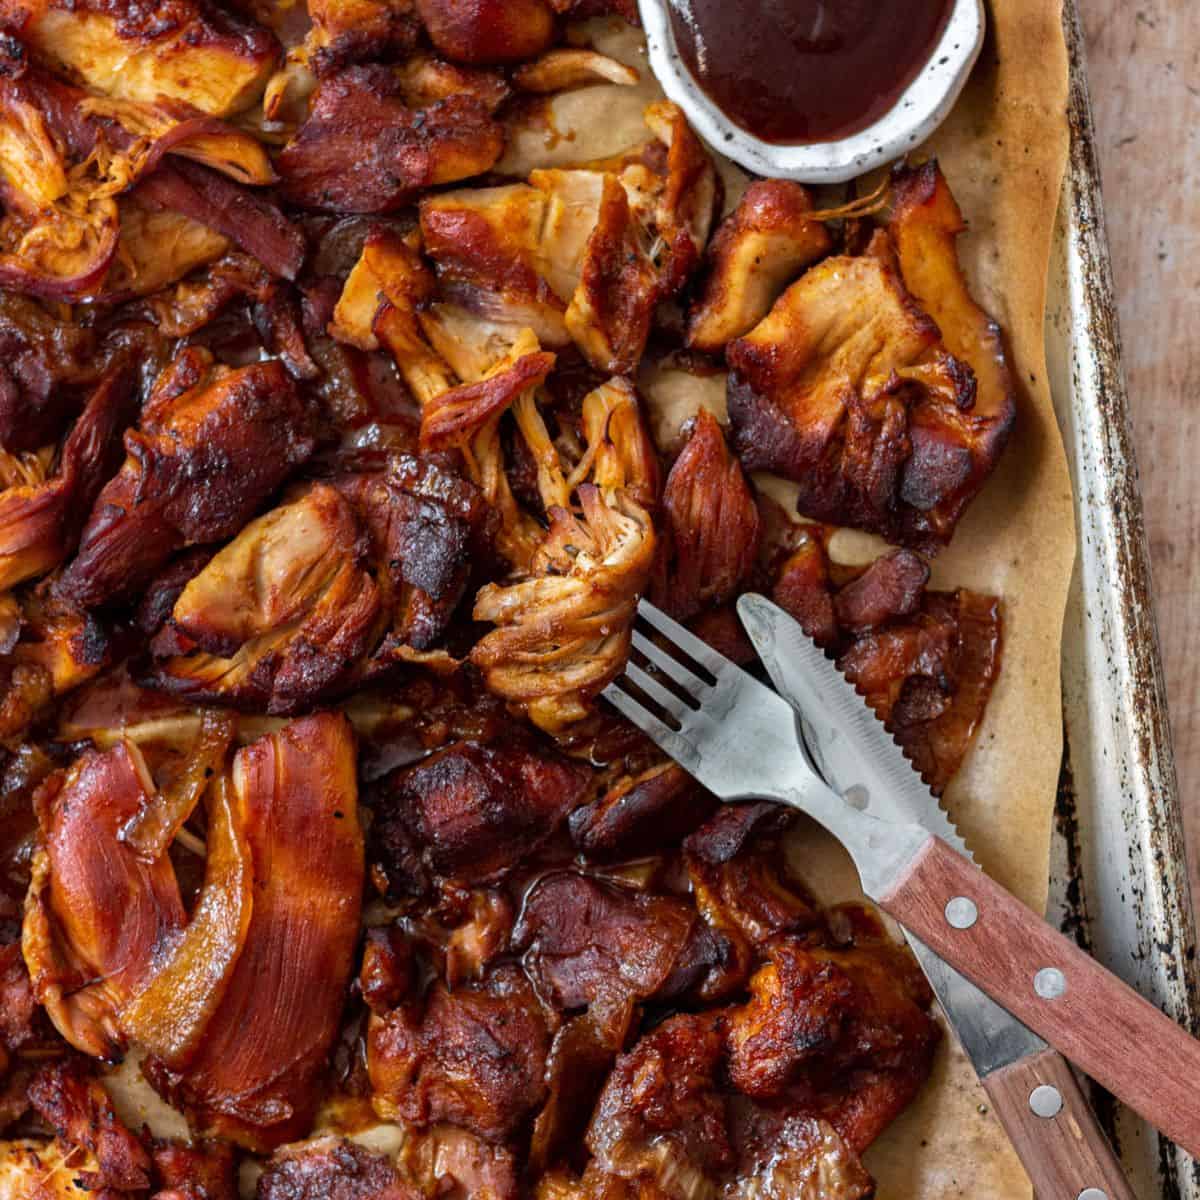
More chicken thigh recipes you'll love


If you tried this Air Fryer Boneless Chicken Thighs Recipe, or any other recipe on my blog, please leave a 🌟 star rating and tell me how it went in the 📝 comments below. Thanks for visiting!
Air Fryer Boneless Chicken Thighs

Air Fryer Boneless Chicken Thighs are crispy on the outside, juicy on the inside and perfect for busy week nights! They take less than 20 minutes to make from start to finish. All they need is a simple dry rub and a drizzle of olive oil.
- Prep Time: 5 minutes
- Cook Time: 20 minutes
- Total Time: 25 minutes
- Yield: 4-6 servings
- Category: lunch, dinner
- Method: air frying
- Cuisine: American
- Diet: Gluten Free
Ingredients
- 2 pounds boneless skinless chicken thighs
- 1 teaspoon garlic powder
- ½ teaspoon onion powder
- 1 teaspoon kosher salt
- ½ teaspoon ground black pepper
- 1 teaspoon Italian seasoning
- 1 tablespoon extra virgin olive oil
Instructions
- Preheat your basket air fryer for 3 minutes at 380°F.
- Combine your seasonings in a small bowl.
- Generously coat your raw boneless skinless chicken thighs with the seasoning blend. Coat both sides of the thighs and open the chicken thighs up so that you get the entire surface area of the chicken thighs. You might have a little bit of your seasoning blend leftover.
- Drizzle the olive oil over top of the chicken thighs. Flip the chicken thighs over so that both sides of the thighs get a little bit of olive oil on them.
- Transfer the chicken thighs to the preheated air fryer basket. Place the chicken thighs in a single layer in the bottom of the air fryer basket. Do not pile the chicken thighs on top of each other. You may need to air fry your chicken thighs in two separate batches.
- Air fry your first batch of chicken thighs for 10 minutes at 380°F. After 10 minutes, flip them over and cook them for another 5-10 minutes, depending on the thickness of your chicken thighs. Check the internal temperature of the chicken thighs using a digital meat thermometer after they have cooked for a total of 15 minutes. If they have not reached an internal temperature of at least 165°F then continue cooking them for another 5 minutes, or 20 minutes total cooking time.
- Repeat steps 5 and 6 with your remaining chicken thighs.
- Let the chicken thighs rest for 5 minutes outside of the air fryer, then slice them into thin slices, serve and enjoy!
Notes
- Always cook raw poultry to an internal temperature of at least 165°F. Measure the internal temperature using a digital meat thermometer.
Nutrition
- Serving Size: ⅙ of recipe
- Calories: 207
- Sugar: 0 g
- Sodium: 350.8 mg
- Fat: 8.6 g
- Carbohydrates: 0.8 g
- Fiber: 0.2 g
- Protein: 29.9 g
- Cholesterol: 142 mg


Comments
No Comments