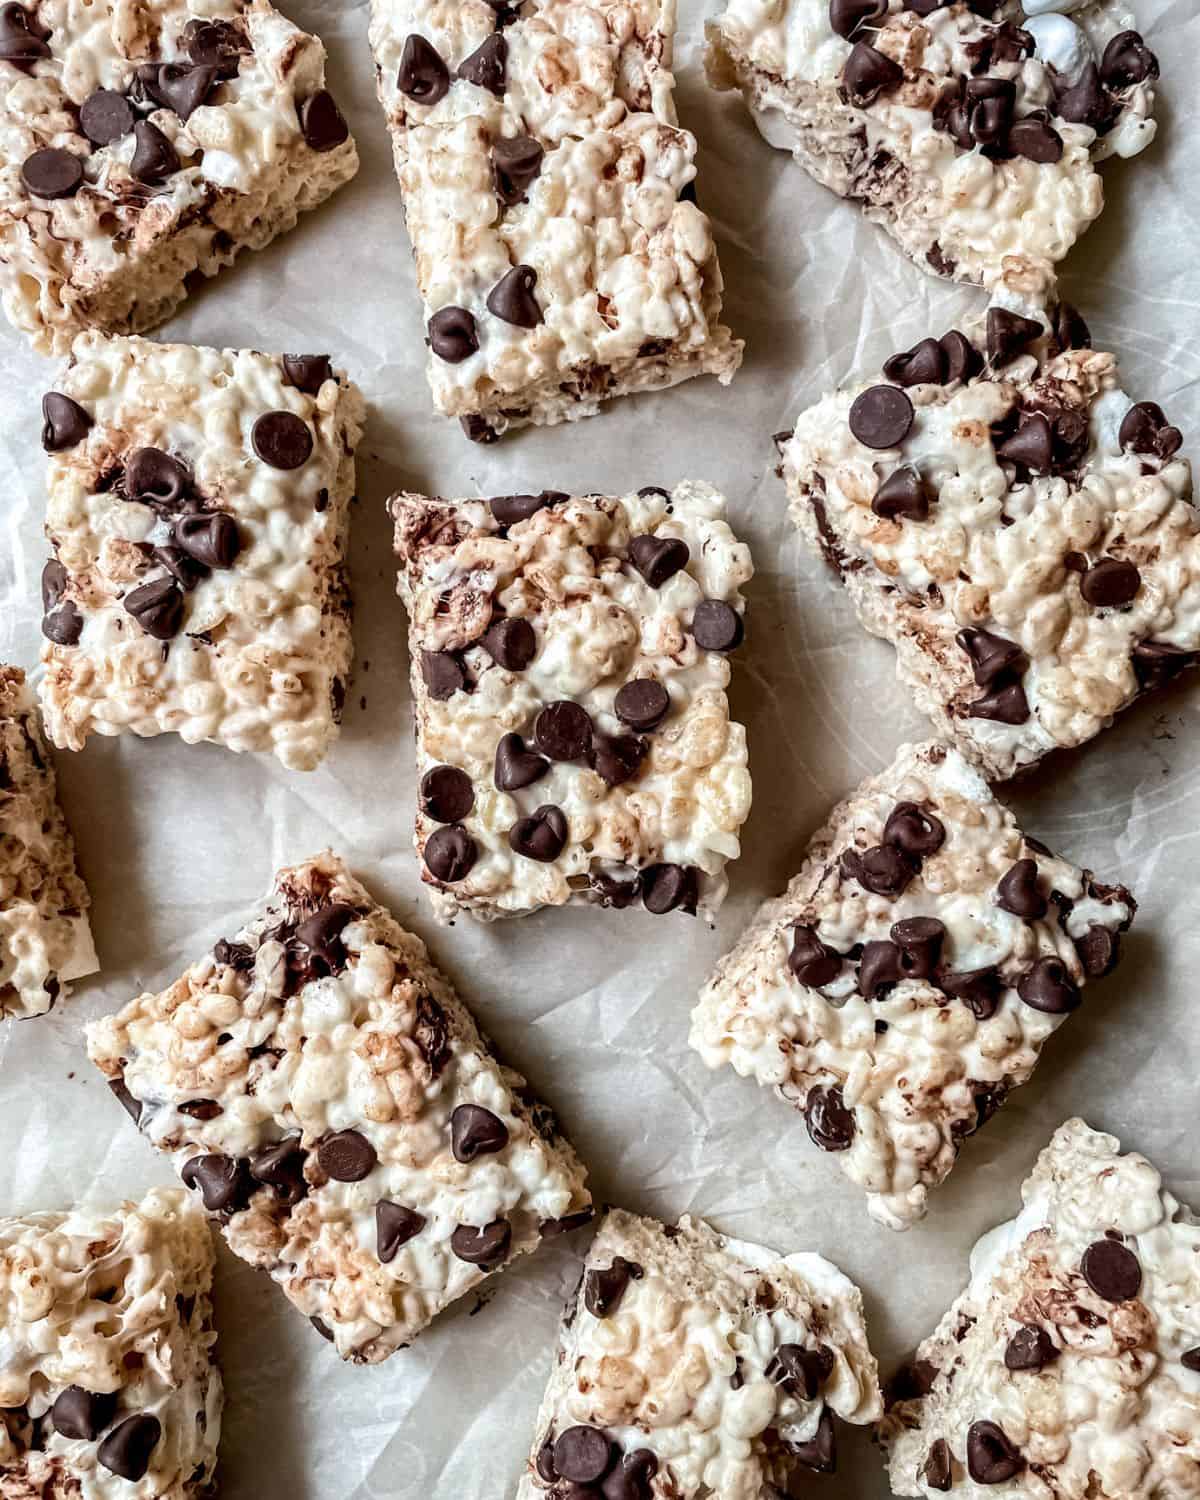
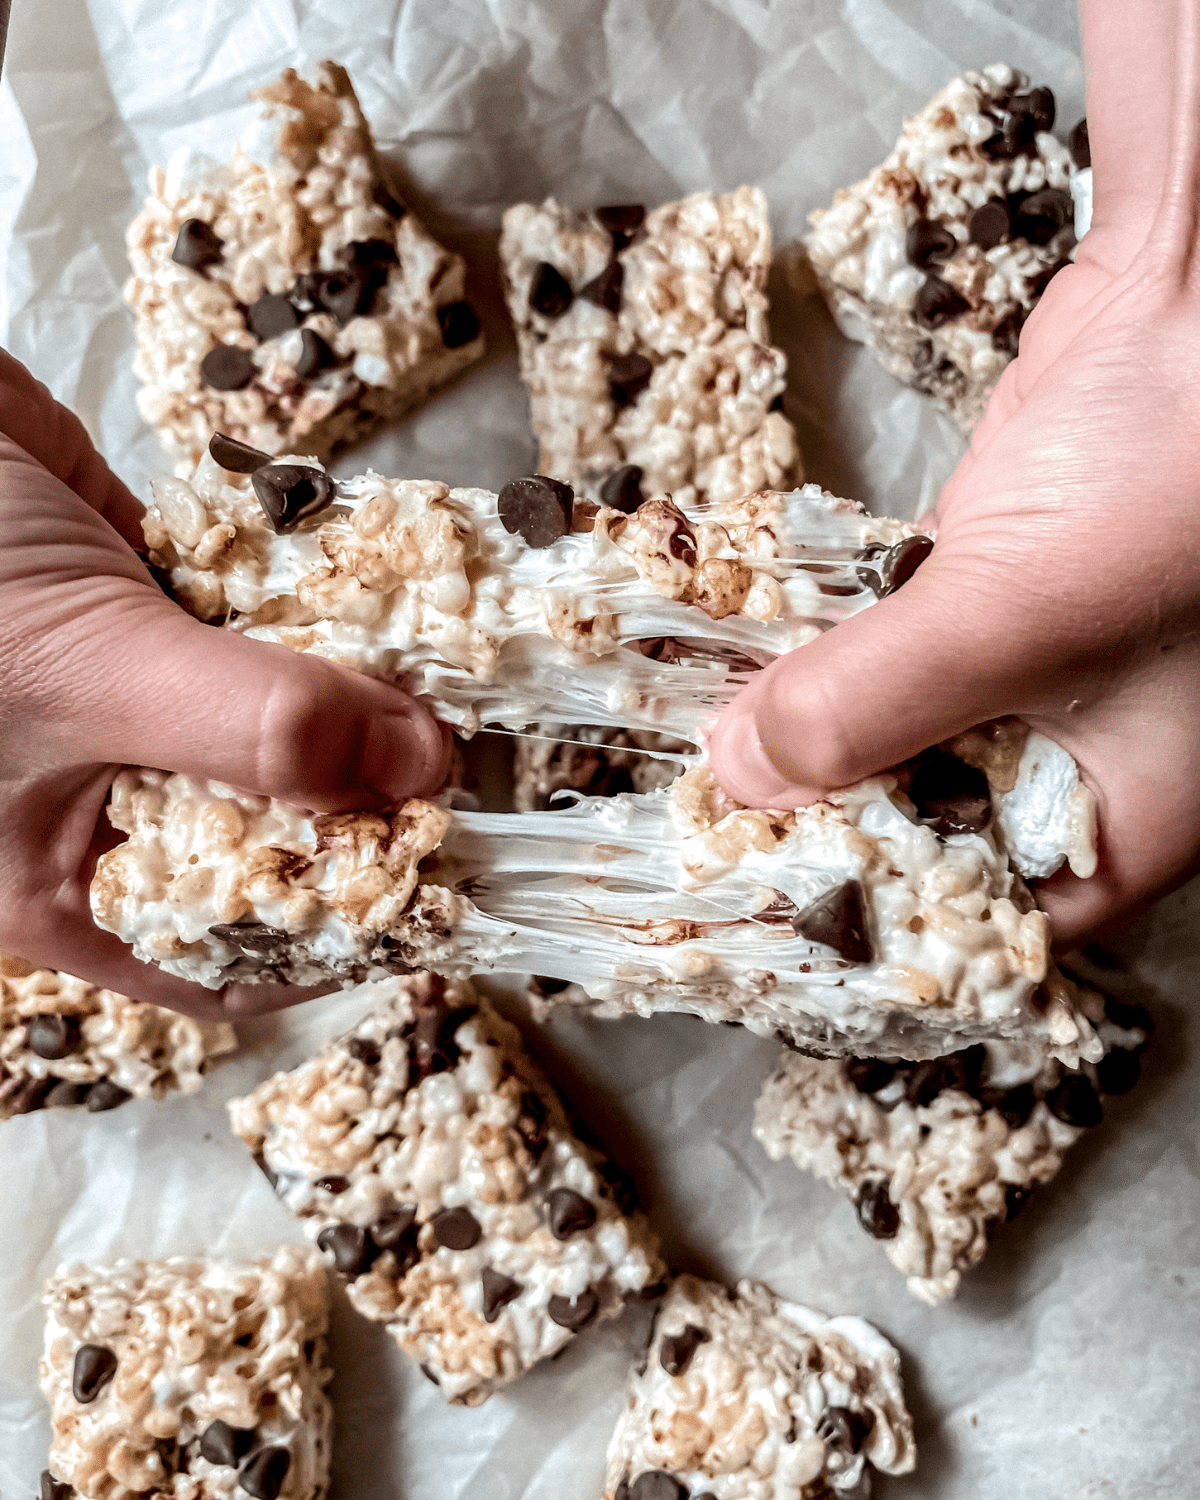
Rice Krispies Treats with Chocolate Chips are the perfect no-bake, melt in your mouth, sweet treat! The classic rice Krispies treats recipe made with butter and marshmallows gets an upgrade with the addition of chocolate chips!
Rice krispie treats are such a nostalgic dessert! I think we all have memories of eating these delicious, gooey, crunchy treats at least once during our childhood.
They're the classic bake sale recipe, classroom treat, and birthday party dessert!
Rice krispies treats are one of those desserts that you can whip up in about 15 minutes because they only contain a handful of ingredients and no time baking in the oven. This also makes cleanup a breeze!
All rice crispy treat recipes start with the same basic ingredients - puffed rice cereal, marshmallows and butter. After that, you can get creative with the recipe and add in yummy extras like mini chocolate chips and extra mini marshmallows!
Read on to see how I make the best and most delicious rice krispies treats with chocolate chips!
Ingredients
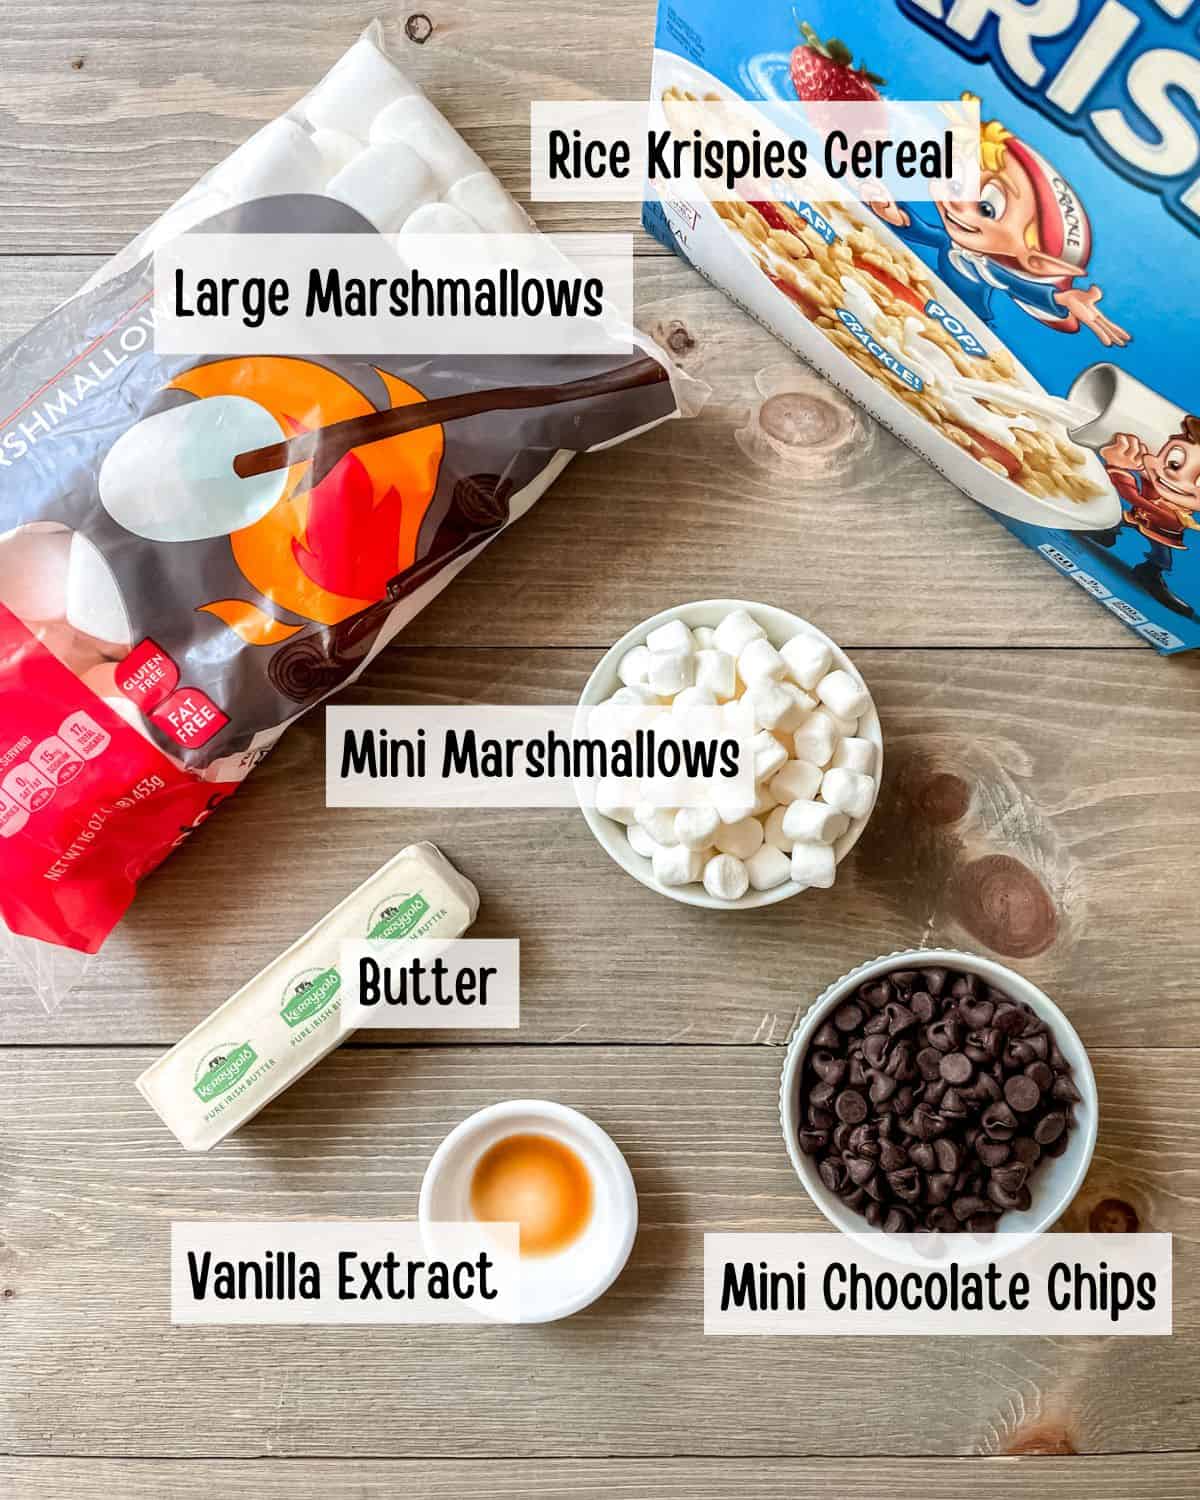
- Rice Krispies cereal - I use Kellogg's Rice Krispies Cereal in this recipe! It's the traditional, tried and true choice.
- Marshmallows - You'll need a 16 ounce bag of regular sized marshmallows.
- Mini chocolate chips - I prefer to use mini chocolate chips because they are smaller and mix into the treats more easily.
- Mini marshmallows - Extra mini marshmallows are added at the end for even more bites of gooey goodness.
- Butter - You really must use a high quality, fancy butter! It adds so much flavor to the recipe! I like to use Kerrygold Irish Butter.
- Vanilla extract - Vanilla extract helps to enhance all of the other flavors in this recipe.
Equipment needed
- Large stock pot & mixing spoon - I like to use my large Dutch oven but you could also use a stock pot or large soup pot.
- Large mixing bowl
- Baking dish - You'll want to use a square or rectangular shaped baking dish.
- Aluminum foil - Foil is used to line the baking dish to make removing the treats easier.
- Cutting board and large chopping knife
How to make
Step 1: Line a baking dish with foil and spray with nonstick cooking spray. This will make it a breeze to remove your Rice Krispies treats from the pan once they are cooled and ready to cut. You'll also want to measure out your chocolate chips and mini marshmallows and pop them into the freezer to chill while you're making your treats.
Pro tip: Chilling the chocolate chips and mini marshmallows will help to prevent them from melting when you add them to the warm rice krispies treats mixture.
Step 2: Melt the salted butter over low to medium heat in the bottom of a large stock pot or soup pot. You definitely need a LARGE pot! A regular-sized sauce pan will not be big enough.
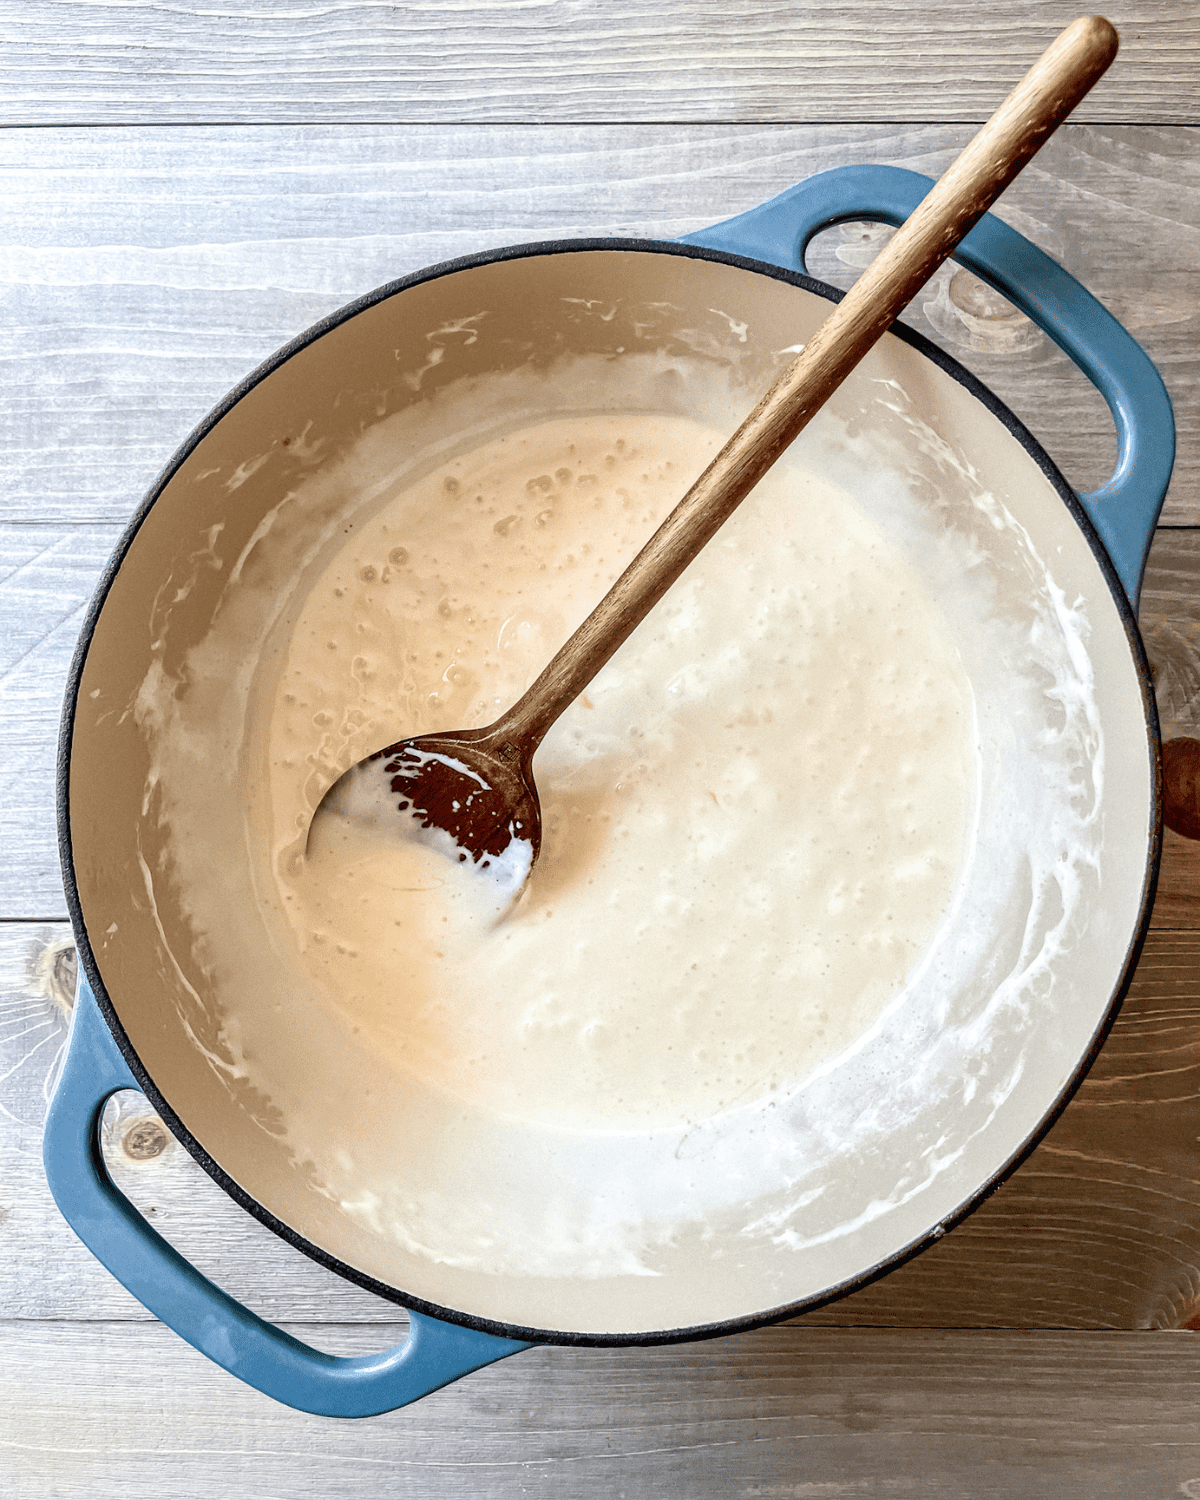
Step 3: Once the butter is melted, add the vanilla extract and the bag of large marshmallows. Save the butter wrapper! You'll need this in step 6. Continuously stir the marshmallows until they are melted, for about 3-5 minutes. Stir until the marshmallows are completely melted and are silky smooth with no lumps remaining.
Step 4: Measure out the dry Rice Krispies cereal into a large mixing bowl. Pour the melted butter and marshmallows over the cereal. Stir until the cereal is fully incorporated into the melted marshmallows. We're transferring the melted marshmallows out of the hot stock pot because we want our mixture to cool down slightly so that the chocolate chips don't melt.
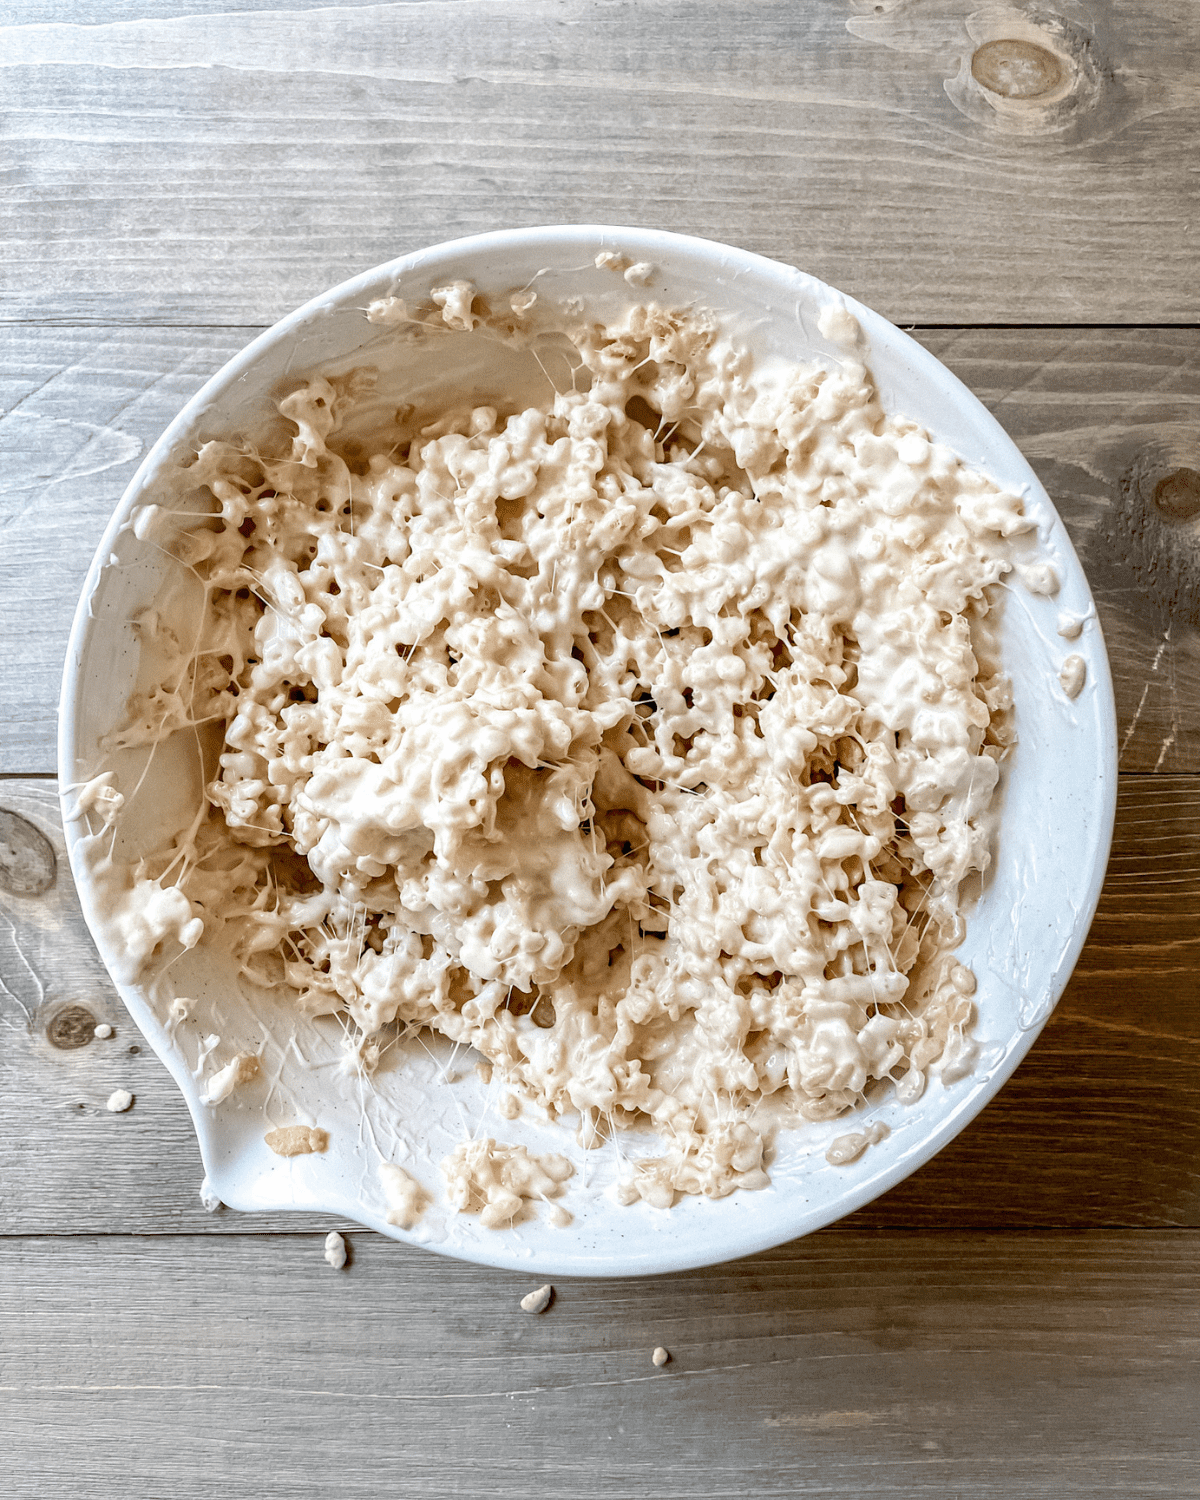
Step 5: Let the butter, marshmallow and cereal mixture cool for 5 minutes. After 5 minutes, add the chilled mini chocolate chips from the freezer and the cup of mini marshmallows. Gently fold the chocolate and mini marshmallows into the Rice Krispies. This will take some muscle but you can do it!
Step 6: Use your mixing spoon to transfer the Rice Krispies mixture to the foil lined baking dish. Press the mixture into the dish using the butter wrapper. The butter wrapper is perfectly greased which prevents the treats from sticking to the wrapper while you're pressing them down. Let the Rice Krispies Treats with Chocolate Chips cool for 1 hour at room temperature on the counter.
Step 7: After 1 hour, remove the treats from the baking dish by peeling up the foil and turning the rice crispy treats out onto a large cutting board. Using a sharp knife, cut the Rice Crispies into equally sized squares.
Serving suggestions
Share the crunchy, gooey goodness that is rice crispy treats with your kids when they get home from school! I sometimes like to send homemade rice crispy treats as a surprise in their school lunch box too. And of course, Rice Krispie treats make for a delicious after dinner dessert!
Substitutions
- Cereal - I have only tested this recipe using Kellogg's Rice Krispies cereal. If you would like to make these treats using an organic and natural option of cereal, then you could try using Nature's Path Rice Puffs cereal. People also make similar no-bake marshmallow treats using Cheerios cereal and Chex cereal.
- Butter - I state above that I think it's ideal to use a high quality "fancy" butter. If you don't have that on hand though, then definitely just use whatever butter that you have!
- Chocolate chips - If you can't find mini chocolate chips, then go ahead and use regular sized chocolate chips.
Variations
There are so many different ways to add variety to Rice Krispies treats! I've seen Rice Krispies treats made with rainbow sprinkles, chocolate sprinkles, white chocolate chips, peanut butter chips, drizzled with melted chocolate, dipped in melted chocolate, drizzled with melted peanut butter, mixed with mini peanut butter cups and cut into fun shapes!
Chocolate chip Rice Krispies treats are still my favorite variation though!
Expert tips
- Since Rice Krispies treats only require 3 main ingredients (cereal, marshmallows, butter), I think it's really important to use high quality ingredients when possible! Since we won't be substituting out the cereal or the marshmallows, that leaves us with the butter. I chose to use Kerrygold Salted Pure Irish Butter. This butter is a deep golden color and is made using grass fed cow's milk from cows raised in Ireland. You truly can taste the difference in this butter compared to a more conventional brand of butter. I think it makes a big difference in the flavor of the Rice Krispies treats!
- When making Rice Krispies treats you absolutely must use a large pot. A regular sized sauce pan will not work because it will be way too small. I like to use my large, Dutch oven. You don't need to use a Dutch oven though. You can use a large soup pot.
- I prefer to use the butter wrapper to press the treats into the baking dish. You could also use a paper towel smeared with butter, the back of a spoon greased with butter or wax paper.
- Chilling the mini chocolate chips and the mini marshmallows is absolutely necessary! It's also necessary to transfer the hot, melted marshmallows out of the hot cooking pot. The chocolate chips will just melt as you're mixing them into your Rice Krispie treats if you don't do those two steps.
Storage
I prefer to store leftover Chocolate Chip Rice Krispie treats tightly wrapped in plastic wrap, at room temperature on the kitchen counter. If your house is hot though, the chocolate could melt, so you'd want to store them in a cool, dark place.
I've never tried freezing Rice Krispies treats because we always eat them right up! However, it is possible. You'll want to cut them into squares, wrap them tightly in plastic wrap and then store them in a freezer safe zip top plastic bag.
More dessert recipes
If you're a fan of no-bake desserts then you need to try my No Bake Pumpkin Cookies and my No Bake Fruit Skewers!
PrintRice Krispies Treats with Chocolate Chips
Rice Krispies Treats with Chocolate Chips are the perfect no-bake, melt in your mouth, sweet treat! The classic rice Krispies treats recipe made with butter and marshmallows gets an upgrade with the addition of chocolate chips!
- Prep Time: 15 minutes
- Cook Time: 60 minutes to cool
- Total Time: 0 hours
- Category: dessert
- Method: no-bake
- Cuisine: American
Ingredients
- 5 tablespoons salted butter (high quality)
- ¼ teaspoon vanilla extract
- 16 ounce bag regular size marshmallows
- 5 cups Kellogg's Rice Krispies cereal
- 1 cup mini chocolate chips
- 1 cup mini marshmallows
Instructions
- Line a square or rectangular shaped baking dish with aluminum foil and spray with nonstick cooking spray. Place the mini chocolate chips and mini marshmallows into the freezer to chill.
- Melt the butter over low to medium heat in a large stock pot. Save the butter wrapper! You'll need this again in step #6.
- Add the vanilla extract and bag of regular sized marshmallows to the melted butter. Stir continuously until the marshmallows are completely melted with no lumps remaining, about 3-5 minutes, and then remove from heat.
- Measure out the dry Rice Krispies Cereal into a large mixing bowl. Pour the warm, melted marshmallows over the cereal. Stir until fully incorporated.
- Let the Rice Krispies mixture cool for 5 minutes. Once cooled, add the chilled mini chocolate chips and mini marshmallows. Gently fold them into the Rice Krispies mixture.
- Transfer the treats to your foil lined baking dish. Use the inside of the butter wrapper to press the treats smoothly into the pan. Let the Rice Krispies treats cool at room temperature for 1 hour.
- After 1 hour, remove the treats from the pan by peeling up the aluminum foil and turning it out onto a large cutting board. Using a sharp knife, cut the Rice Krispies treats into equally sized squares.
Notes
- I recommend using a high quality butter like Kerrygold Salted Pure Irish butter.
- A large stock pot or soup pot is necessary. A regular sized sauce pan will be too small.
- Chilling the mini chocolate chips and the mini marshmallows is absolutely necessary! It's also necessary to transfer the hot, melted marshmallows out of the hot cooking pot. The chocolate chips will just melt as you're mixing them into your Rice Krispies treats if you don't do those two steps.
Follow me
Follow me on Facebook, Instagram and Pinterest!
Did you make this recipe? Tell me all about it in the comments below! I love hearing from my followers and answering any of your questions!


Katie says
These are the perfect no-bake treat!